Photo Basics: Using a Tripod
Sunday, June 16, 2024 | By: Natalia Robert
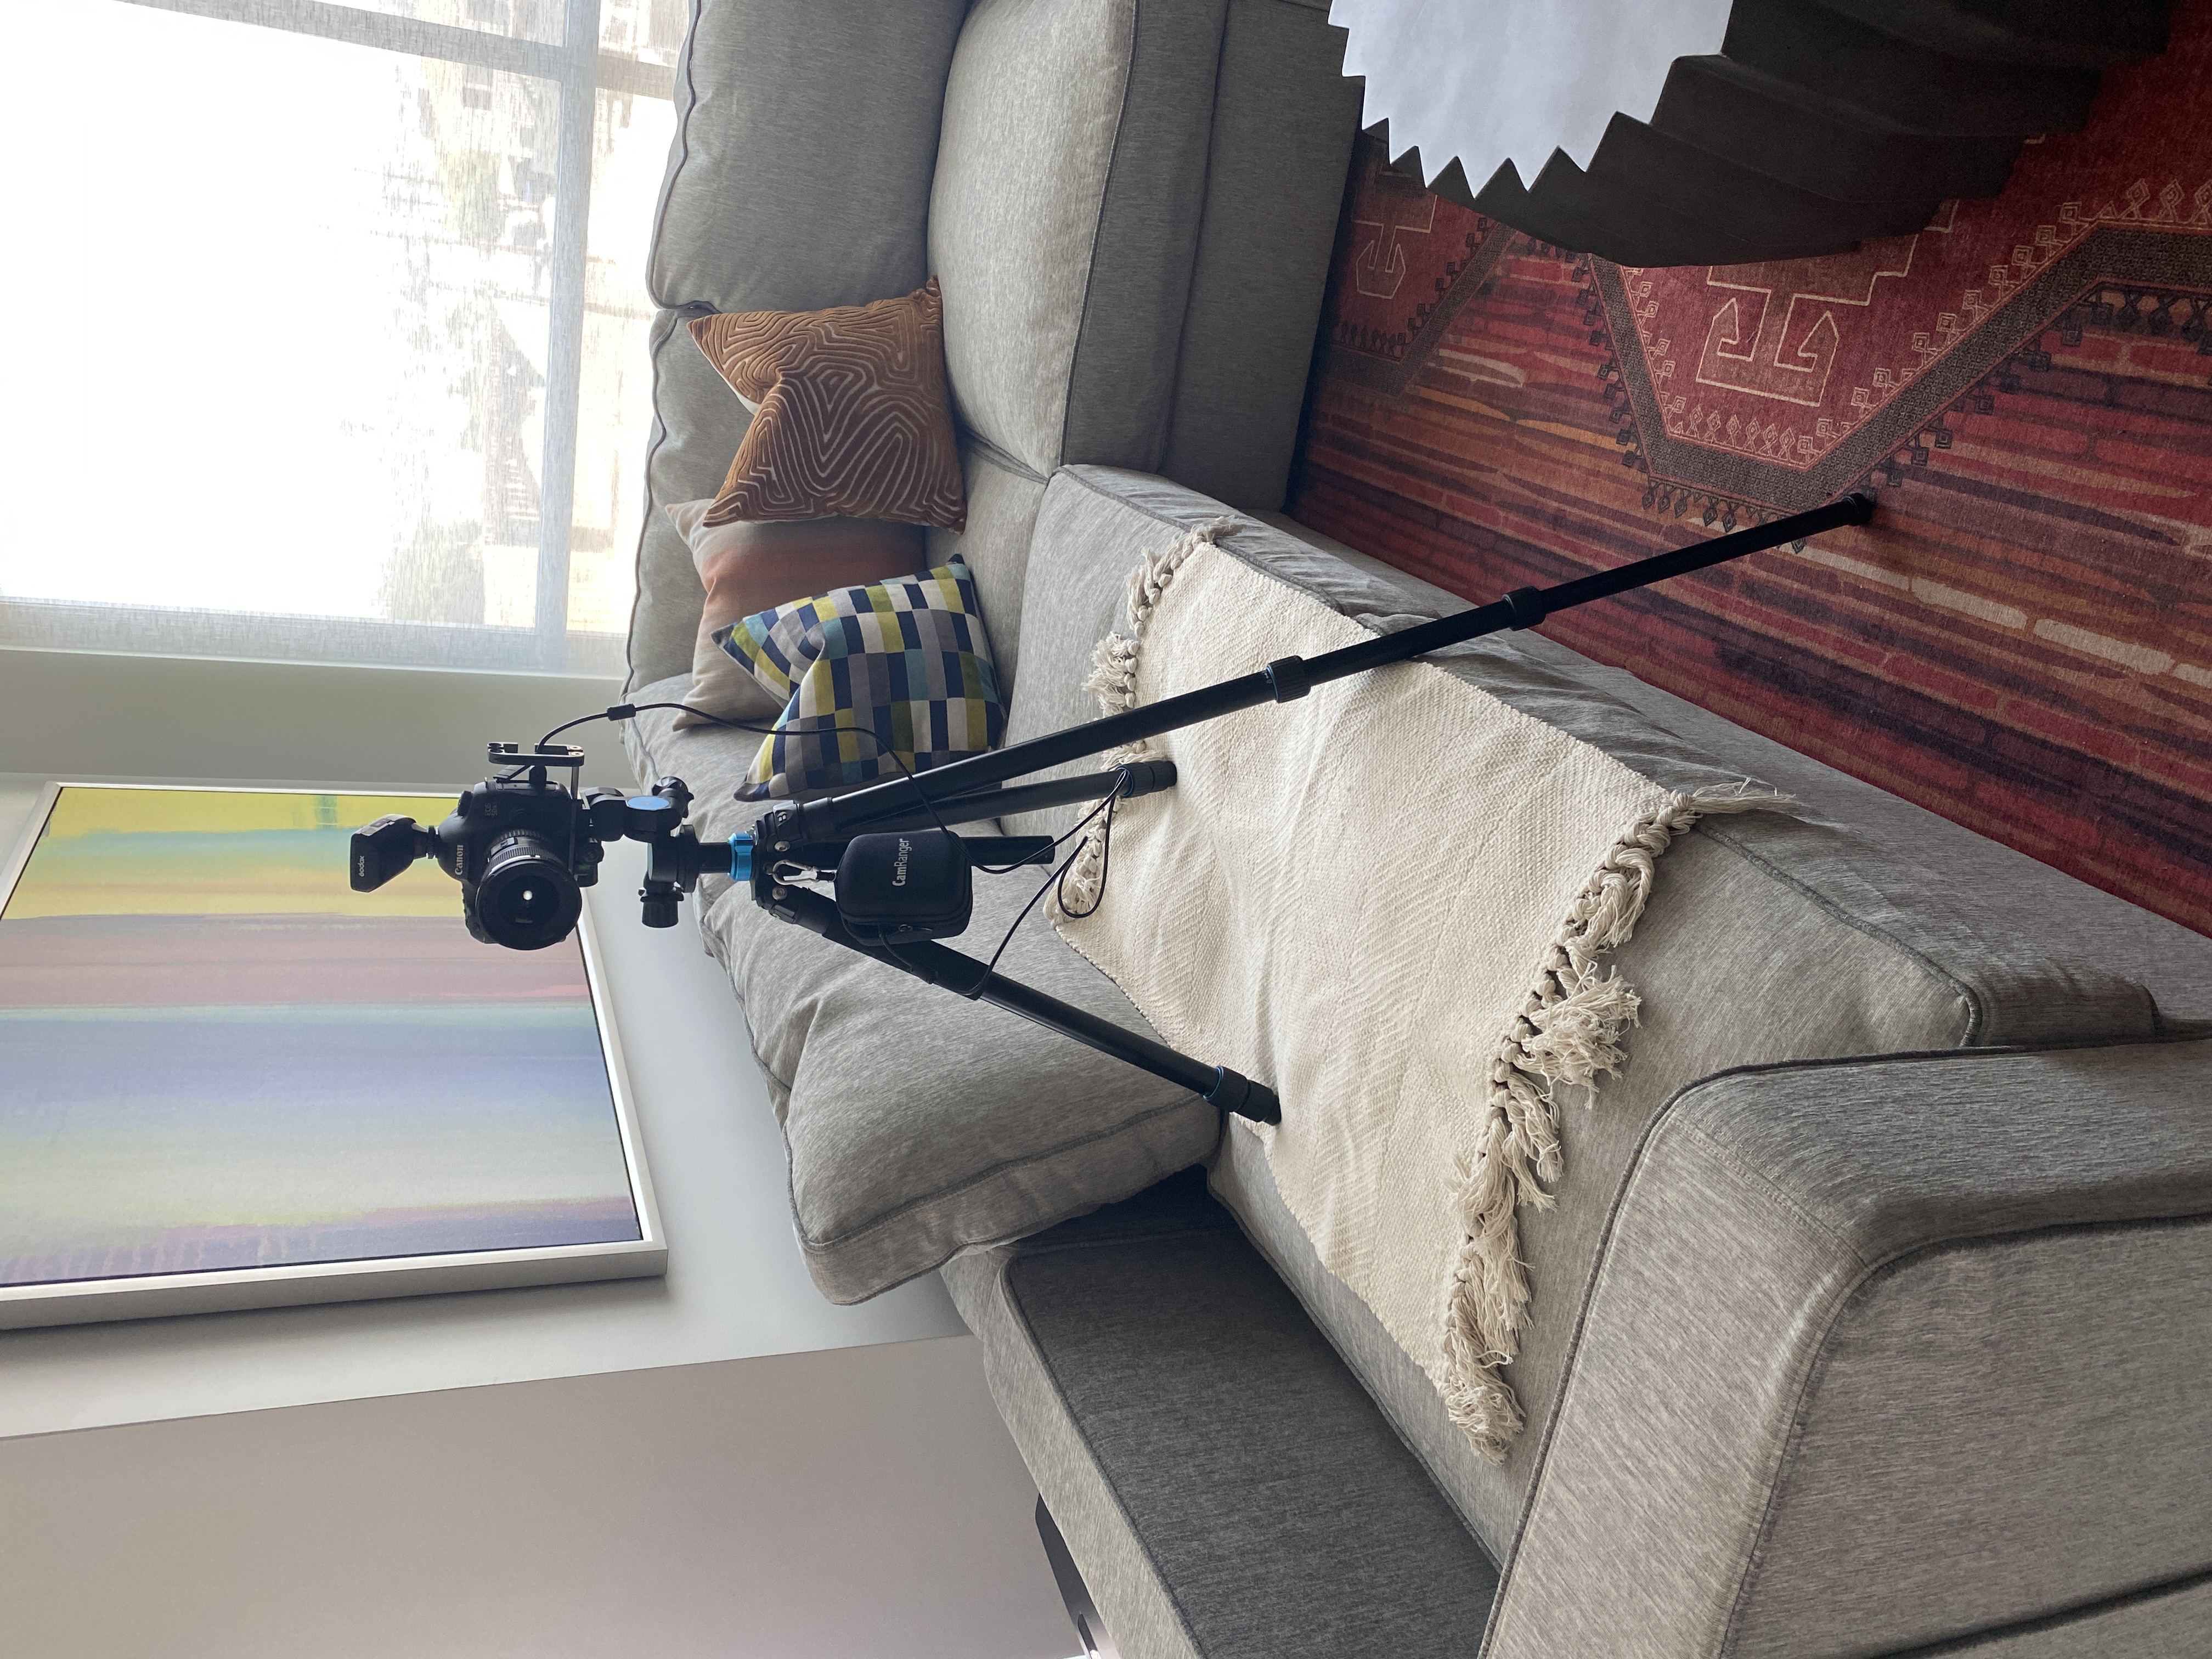
One of the most critical tools in an interior photographer's arsenal is the tripod. While it may be tempting to hand-hold your shots, the freedom of using a tripod will soon become a necessity to your work.
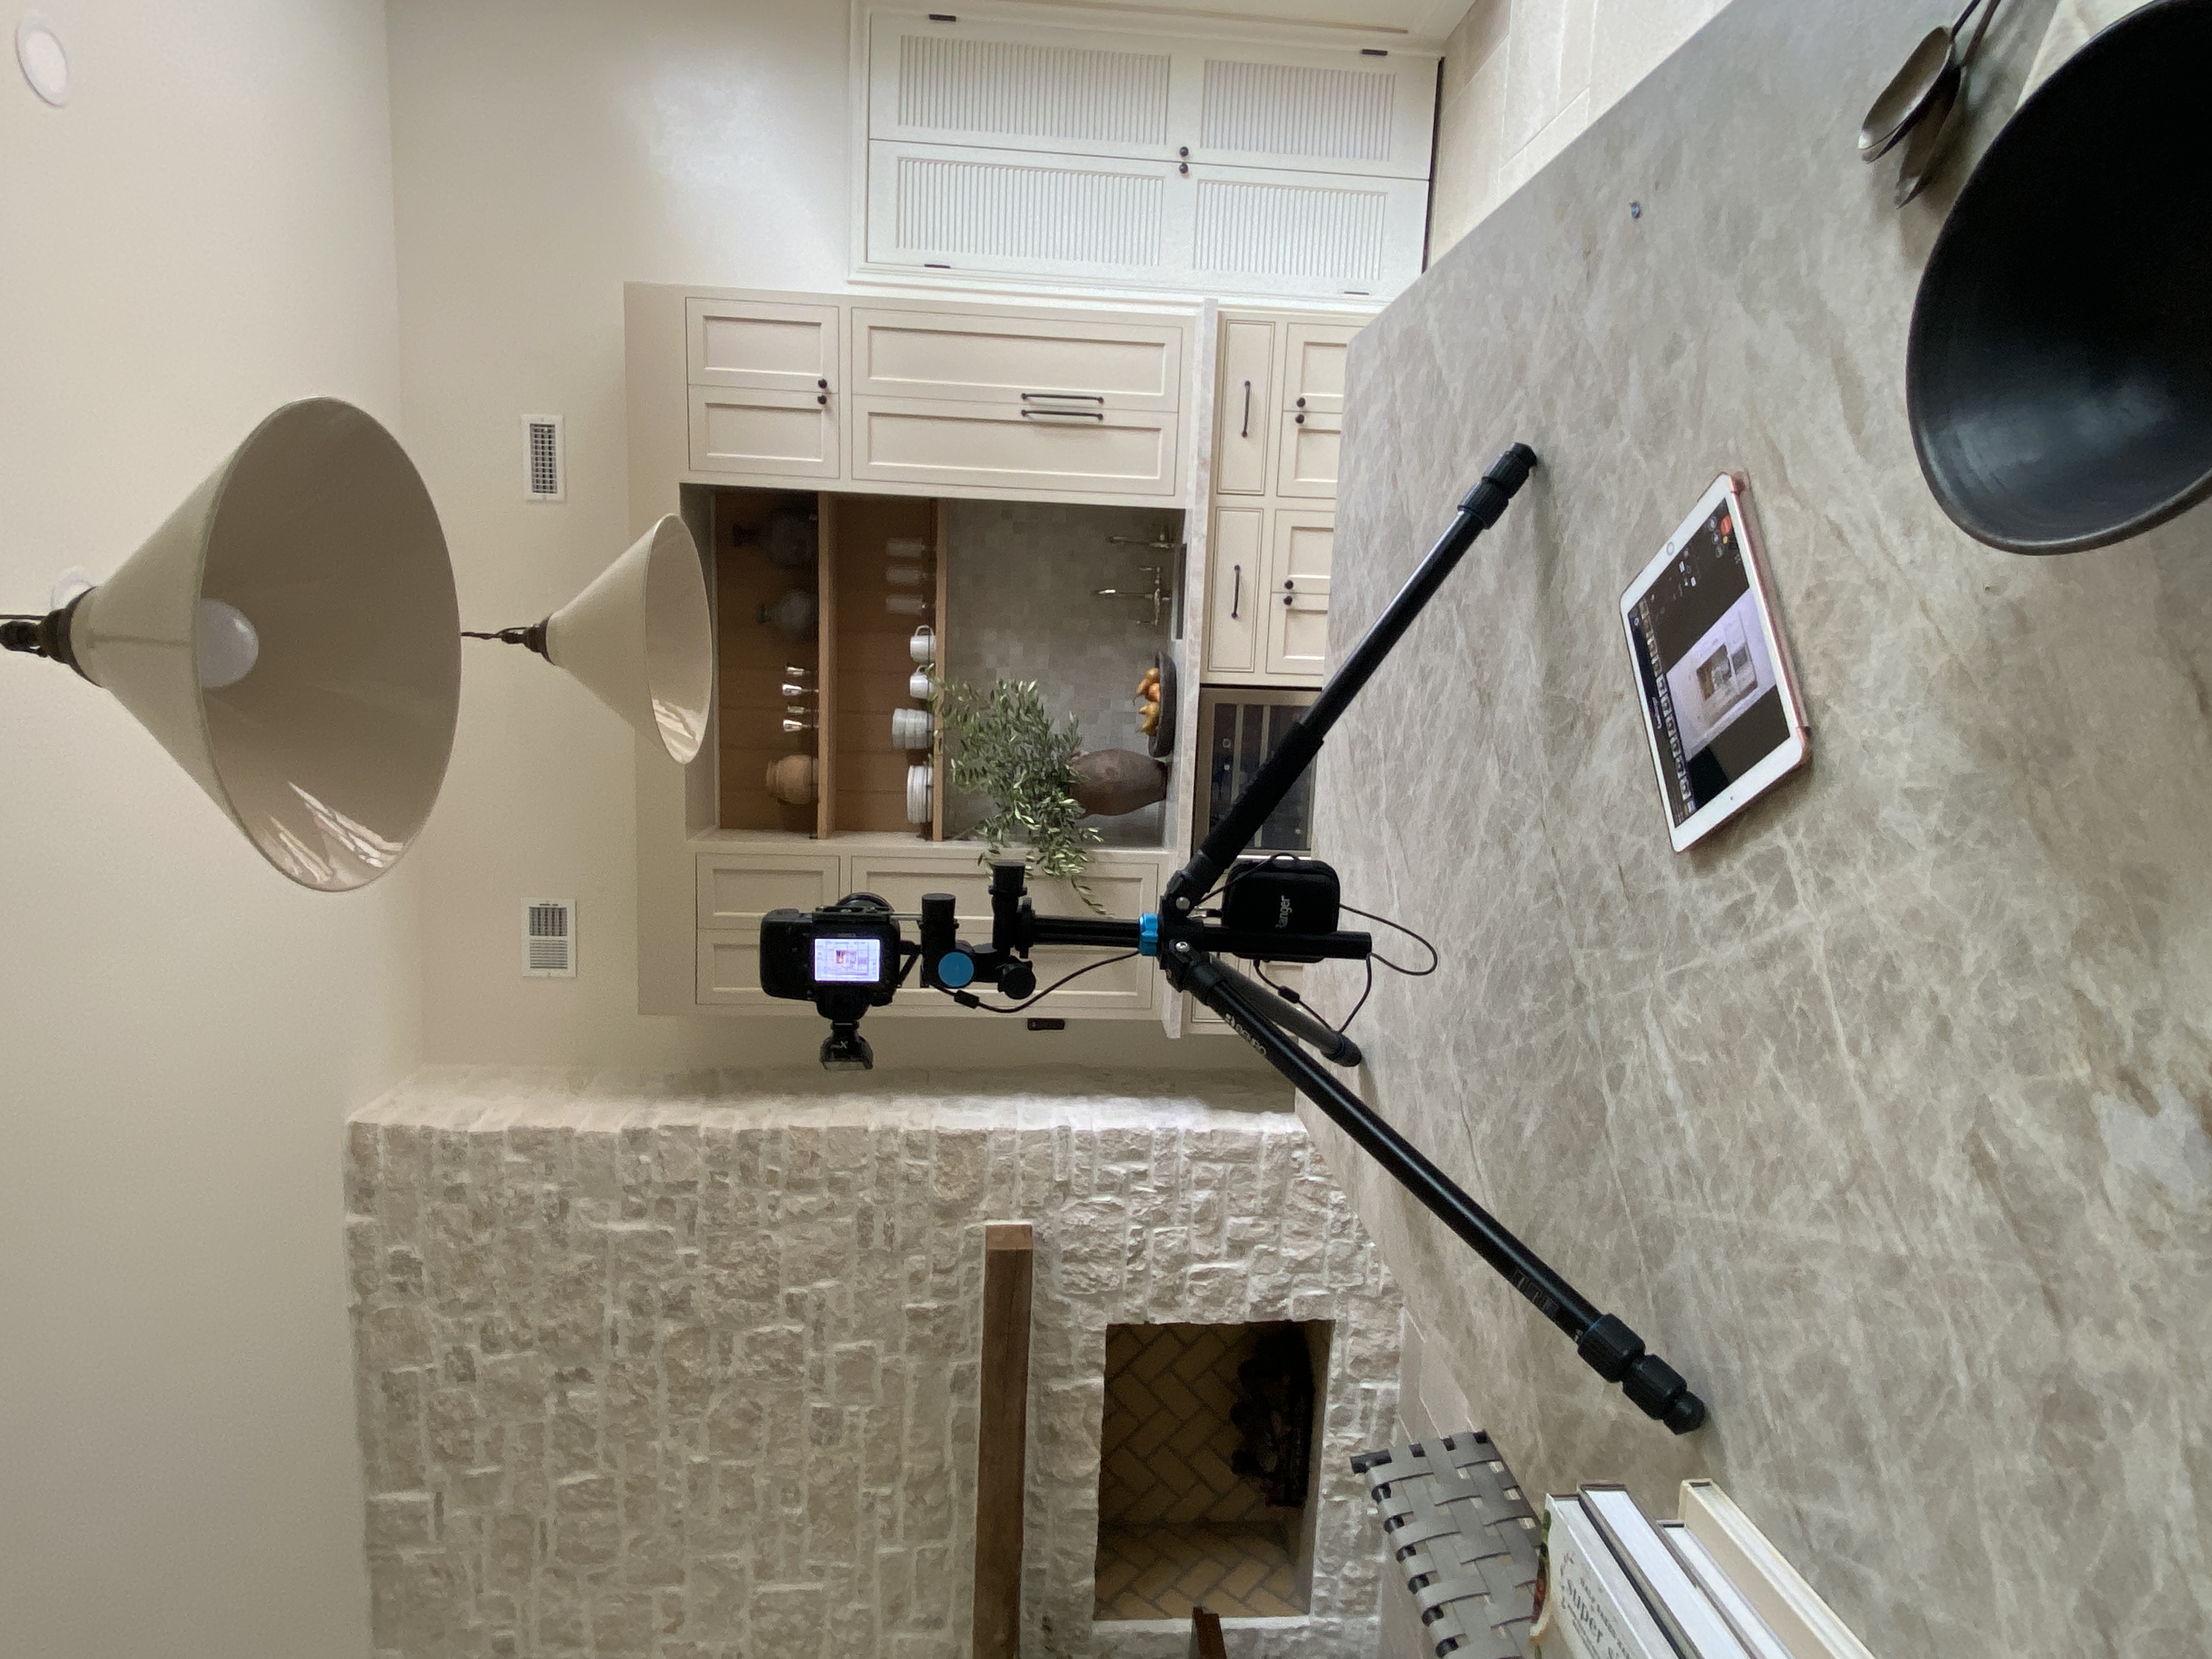
A tripod not only stabilizes your camera for sharp images, but also is necessary for capturing a series of exposures that will be blended together in the editing process - a necessity for nearly all interior photography. Additionally, using a tripod will slow down the shooting process and allow for subtle tweaks while tethering, all leading to more intentional compositions and a collaborative experience for your client!
Let's go over the critical elements to consider when getting a tripod, and our top tips on how to use a tripod effectively for interior photography.
How to Choose a Tripod for Interior Photography
Selecting a tripod can be overwhelming with so many options available. Here are some key considerations to guide you:
Stability and Weight Capacity
The primary function of a tripod is to provide stability. While interior photography doesn't require you to place a tripod on uneven surfaces like dirt and rocks, it's best to look for the sturdiest tripod your current budget will allow. If you do a fair amount of exterior architectural work (or you plan on it!), then the stability will be a big factor for you. To help sustain winds and unstable grounds, you'll want to avoid getting a tripod that is TOO lightweight.
Especially if you're still shooting on a DSLR, you'll also want to ensure the tripod can support the weight of your camera and heaviest lens. Look for tripods with a higher load capacity than your gear's weight to avoid any wobbling or instability. If you use a mirrorless camera body, this is not going to be a concern because the gear tends to be much more lightweight.
Portability
While you're considering stability and capacity, be sure to check the weight of the actual tripod itself. Since you'll be moving this tripod from room to room as you photograph an interior design project, a tripod that is lightweight and easy to carry is essential. Compare tripod weights and consider getting one that can offer stability and hold your gear weight, but it the lightest tripod amongst those options. Carbon fiber tripods are lightweight yet incredibly strong, making them ideal for travel and lots of carrying from space to space. Aluminum tripods, while heavier, are often more affordable and durable.
Height and Flexibility
You'll want a tripod that extends above your height. So if you are 5'6" tall, be sure that your tripod extends beyond that. This recommendation is mainly to give you the flexibility and to make sure that you avoid compact tripods meant for travel. Interior photos are typically photographed anywhere between chest and eye level, with larger spaces often requiring a taller position. Also, if you shoot exteriors at all, you'll have more of a need to position your camera higher to crate your compositions without distortion.
Beyond the extension height, any features for added flexibility will come in handy. Many tripods will allow for the legs to be bent in different directions, not just extend. Having these sort of features will give you more options when you're setting up in awkward spots or need to stabilize the tripod on or around different objects.
Tripod Head
The tripod head is crucial for maneuverability. Ball heads offer quick adjustments and are great for dynamic shooting, but offer less control for leveling and micro-adjustments. Pan-tilt heads, or geared heads, provide precise control over each axis, which is beneficial for architectural and interior photography. There are also specialized tripod heads like the Arca-Swiss Cube geared head, which provide even more precision when adjusting the position!
Not sure where to get started selecting a tripod and head?
Check out our Gear page for recommendations!
Tips for Using a Tripod in Interior Photography
Now that you've chosen the right tripod, let's dive into how to use it effectively for interior photography.
Start with composition
Your composition is going to dictate where your tripod needs to go, so before setting it anywhere, discuss the next shot with your client. Once you have a general angle or composition in mind, it's time to find your perfect tripod position!
Get stable
Always set your tripod on a stable and level surface. Uneven floors can cause your tripod to tip over. Use a spirit level or the built-in bubble level on your tripod to ensure it is perfectly horizontal.
If your camera needs to be in an awkward spot for the tripod, this is where special features for adjusting the tripod position will come in handy. Adjust the leg lengths, don't forget that you can raise the center column, and consider setting the tripod on top of (or partially on top of) things like large furniture or countertops if needed.
Consider an L-Bracket
An L-bracket is an indispensable accessory for architectural photographers. It allows you to quickly switch between landscape and portrait orientations without adjusting the tripod head. This maintains the same axis point, ensuring consistency in your compositions. Attach the L-bracket to your camera and mount it on the tripod head. The sturdy design minimizes camera movement, providing sharper images.
Extend the Legs Properly
Extend the tripod legs starting with the thicker sections first to maximize stability (this means from the top section down). Only extend the thinner sections if you need extra height since they are a bit less stable than the thicker sections. Avoid using the center column unless absolutely necessary, as it can introduce vibrations. Typically, the center column is raise once the leg sections have all already been extended.
Use a Remote Shutter Release
To eliminate camera shake completely, use a remote shutter release or set a timer on your camera. If you're tethering, you can also use the shutter release that is on the tethering software. This is especially helpful for interiors and architecture since conditions often call for long exposures.
Adjust for Height and Perspective
The height at which you place your camera can be crucial for interior photos! Your main guides for camera height will be the room's ceiling height, furniture height, and countertop/table heights. For low profile furnishings, your camera will want to be a bit lower, probably around 4' from the ground or so. If you have a space with bar-height countertops, your camera will want to be a bit higher. As a general rule of thumb, you want to have the camera high enough to see a bit of the tops of tables and counters. If you get so low that you do not see the tops of the counters - raise that camera! For these small adjustments, the center column is often the easiest way to slide the camera up or down.
Optimize Camera Position and Composition
Take your time to position the camera precisely. Use the tripod head to make fine adjustments, ensuring that your lines are straight and your composition is balanced. Since you're photographing an interior, aim to keep vertical lines (such as walls and door frames) perfectly vertical to avoid distortion. If your tripod has a level on it, use that to first make sure your tripod itself is set up level. Then use your camera's digital level to check your vertical lines against a grid.
Lock Everything Down
Once you’ve set your composition, make sure all the tripod’s locks are tightened securely. This includes the leg locks, the center column lock, and the head locks. Any loose components can result in camera movement, ruining your shot!
Conclusion
By carefully selecting the right tripod and mastering its use, you can improve your workflow, your client experience, and your final images. Choosing a tripod with interior photography in mind ensures that you'll have the stability you need, the features for any space and setup, and the precision to create any composition you need!


