Lighting Interiors 101
Sunday, May 01, 2022 | By: Natalia Robert
Mastering lighting for interiors can feel intimidating but if you take one step at a time it can actually be quite simple. These days, more architectural photographers and interior photographers gravitate towards working with natural light. While natural light is amazing and should be taken advantage of as much as possible, having the skills to know when and how to bring in artificial light is crucial. Here’s a rundown of working with natural light and artificial light in your interior photography shoots so you’re no longer left wondering how to light interiors.
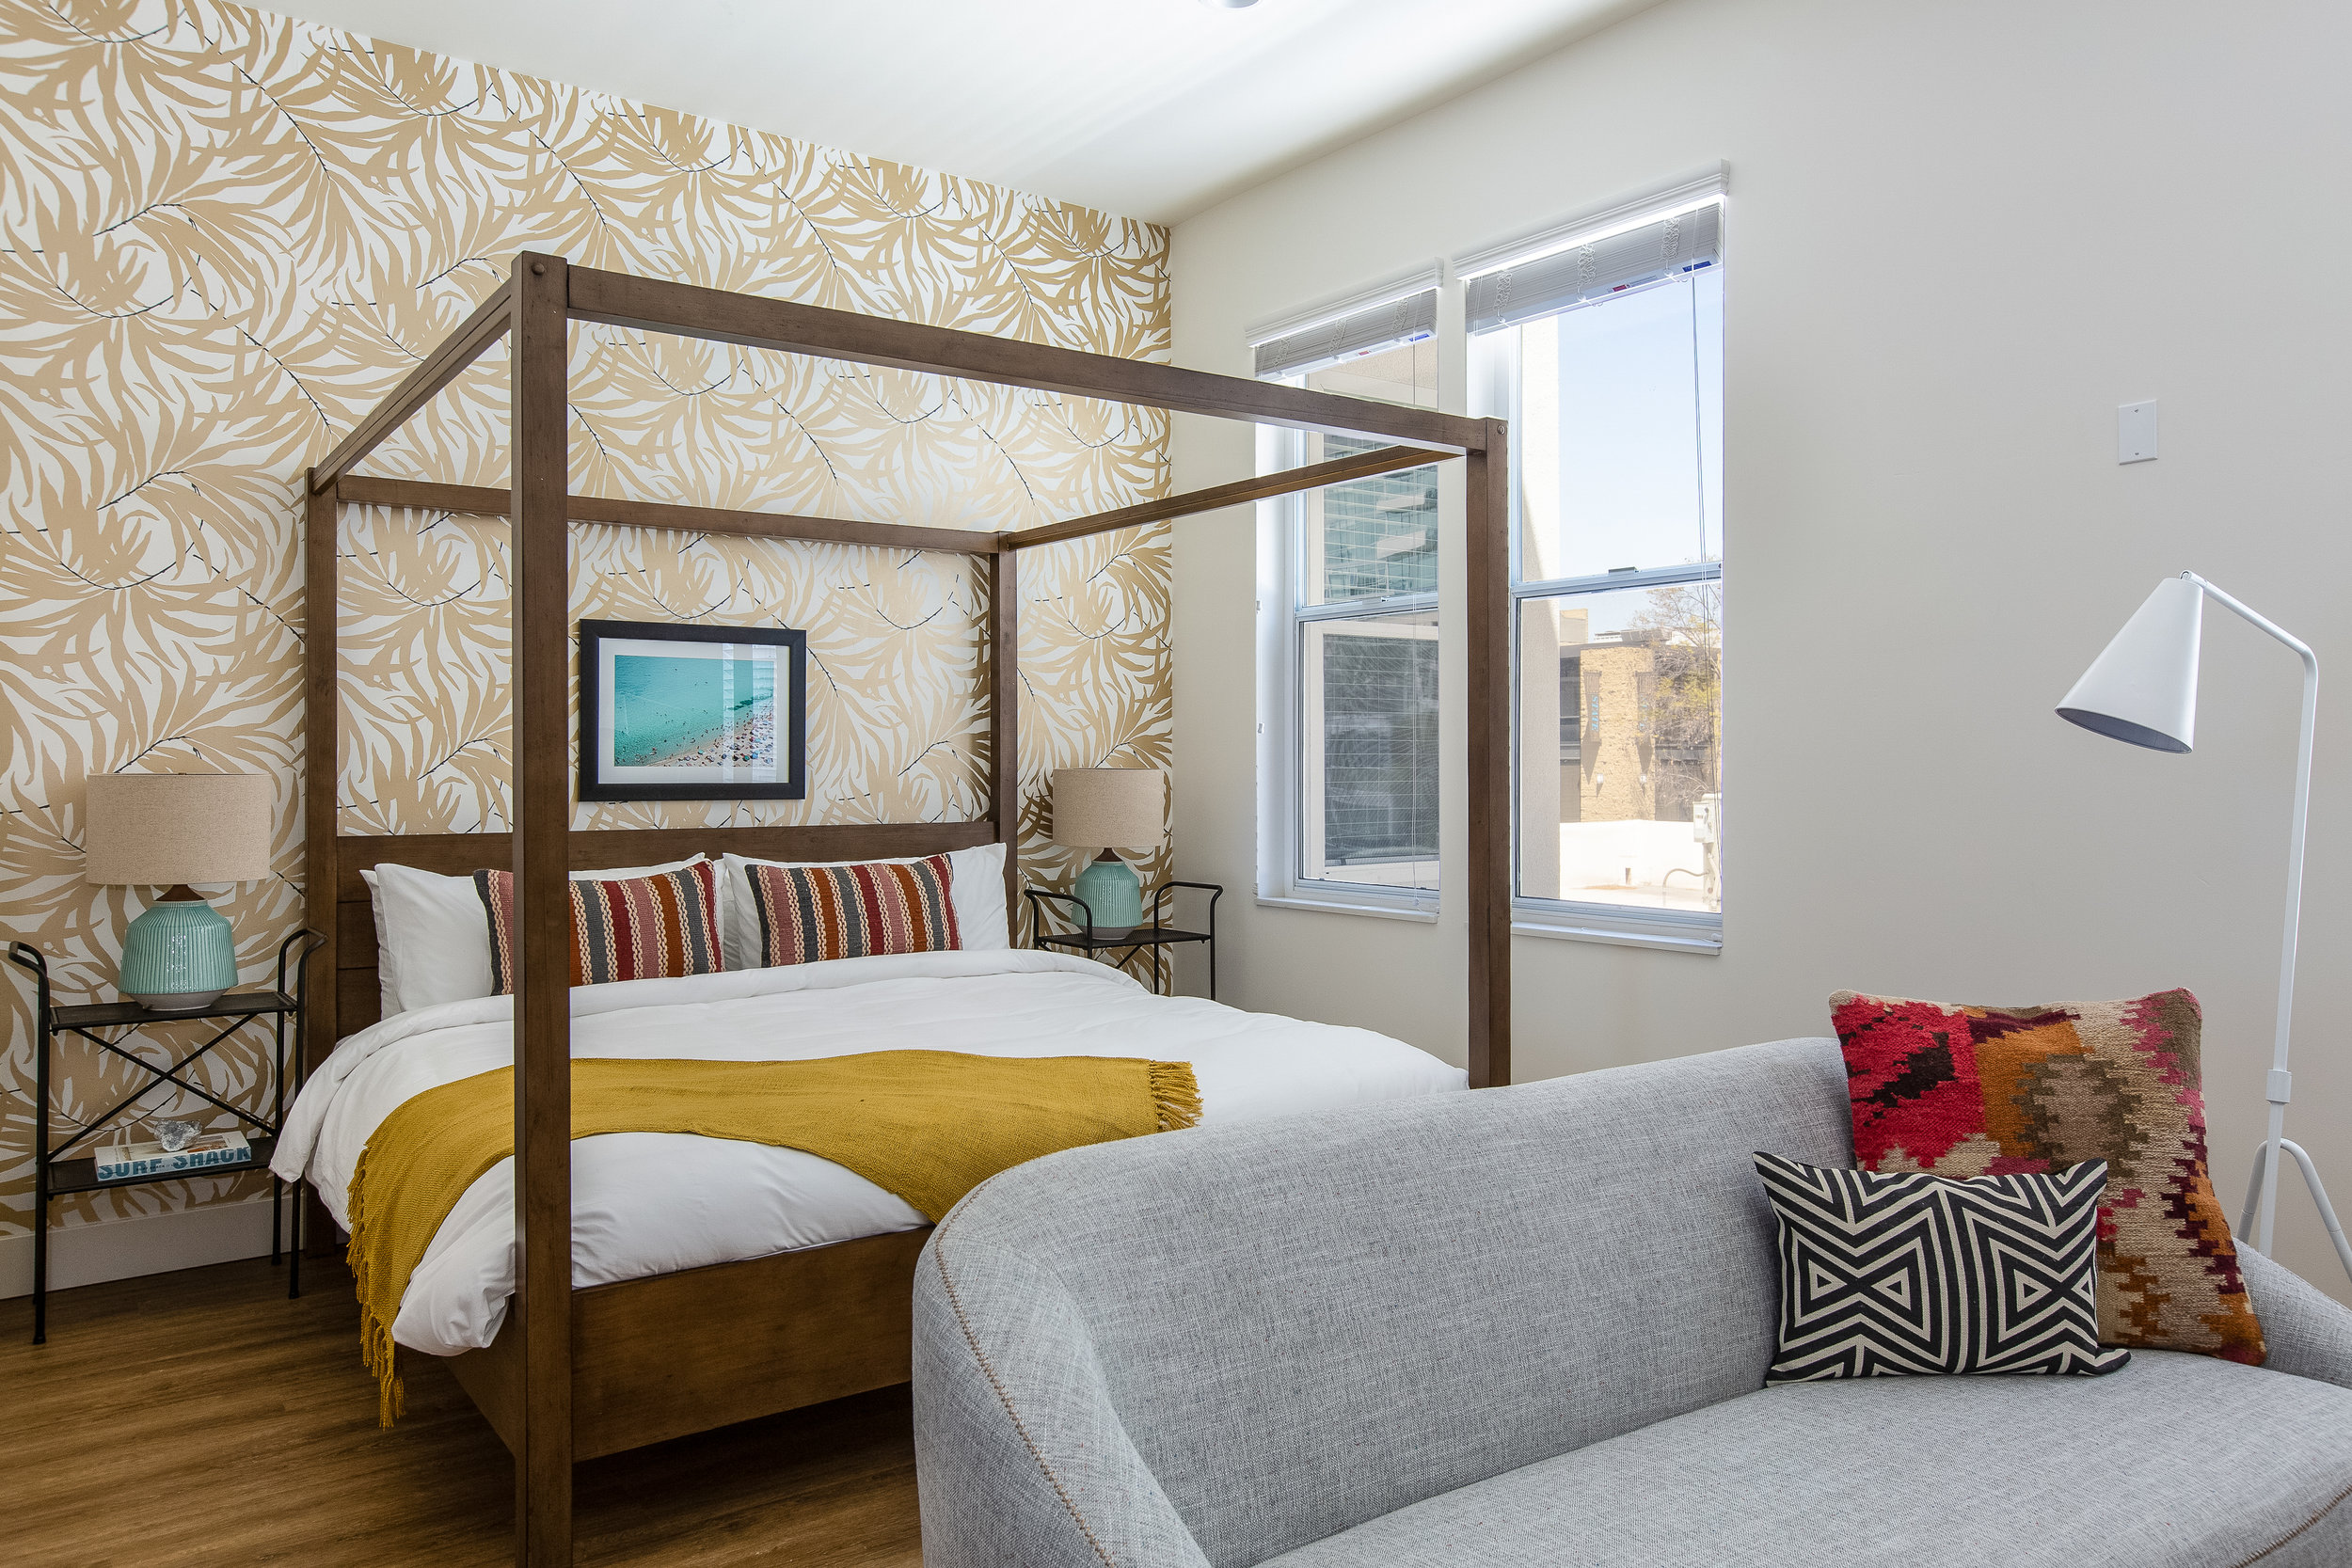
Final photo. Take a look below to see the different exposures that created this composite.
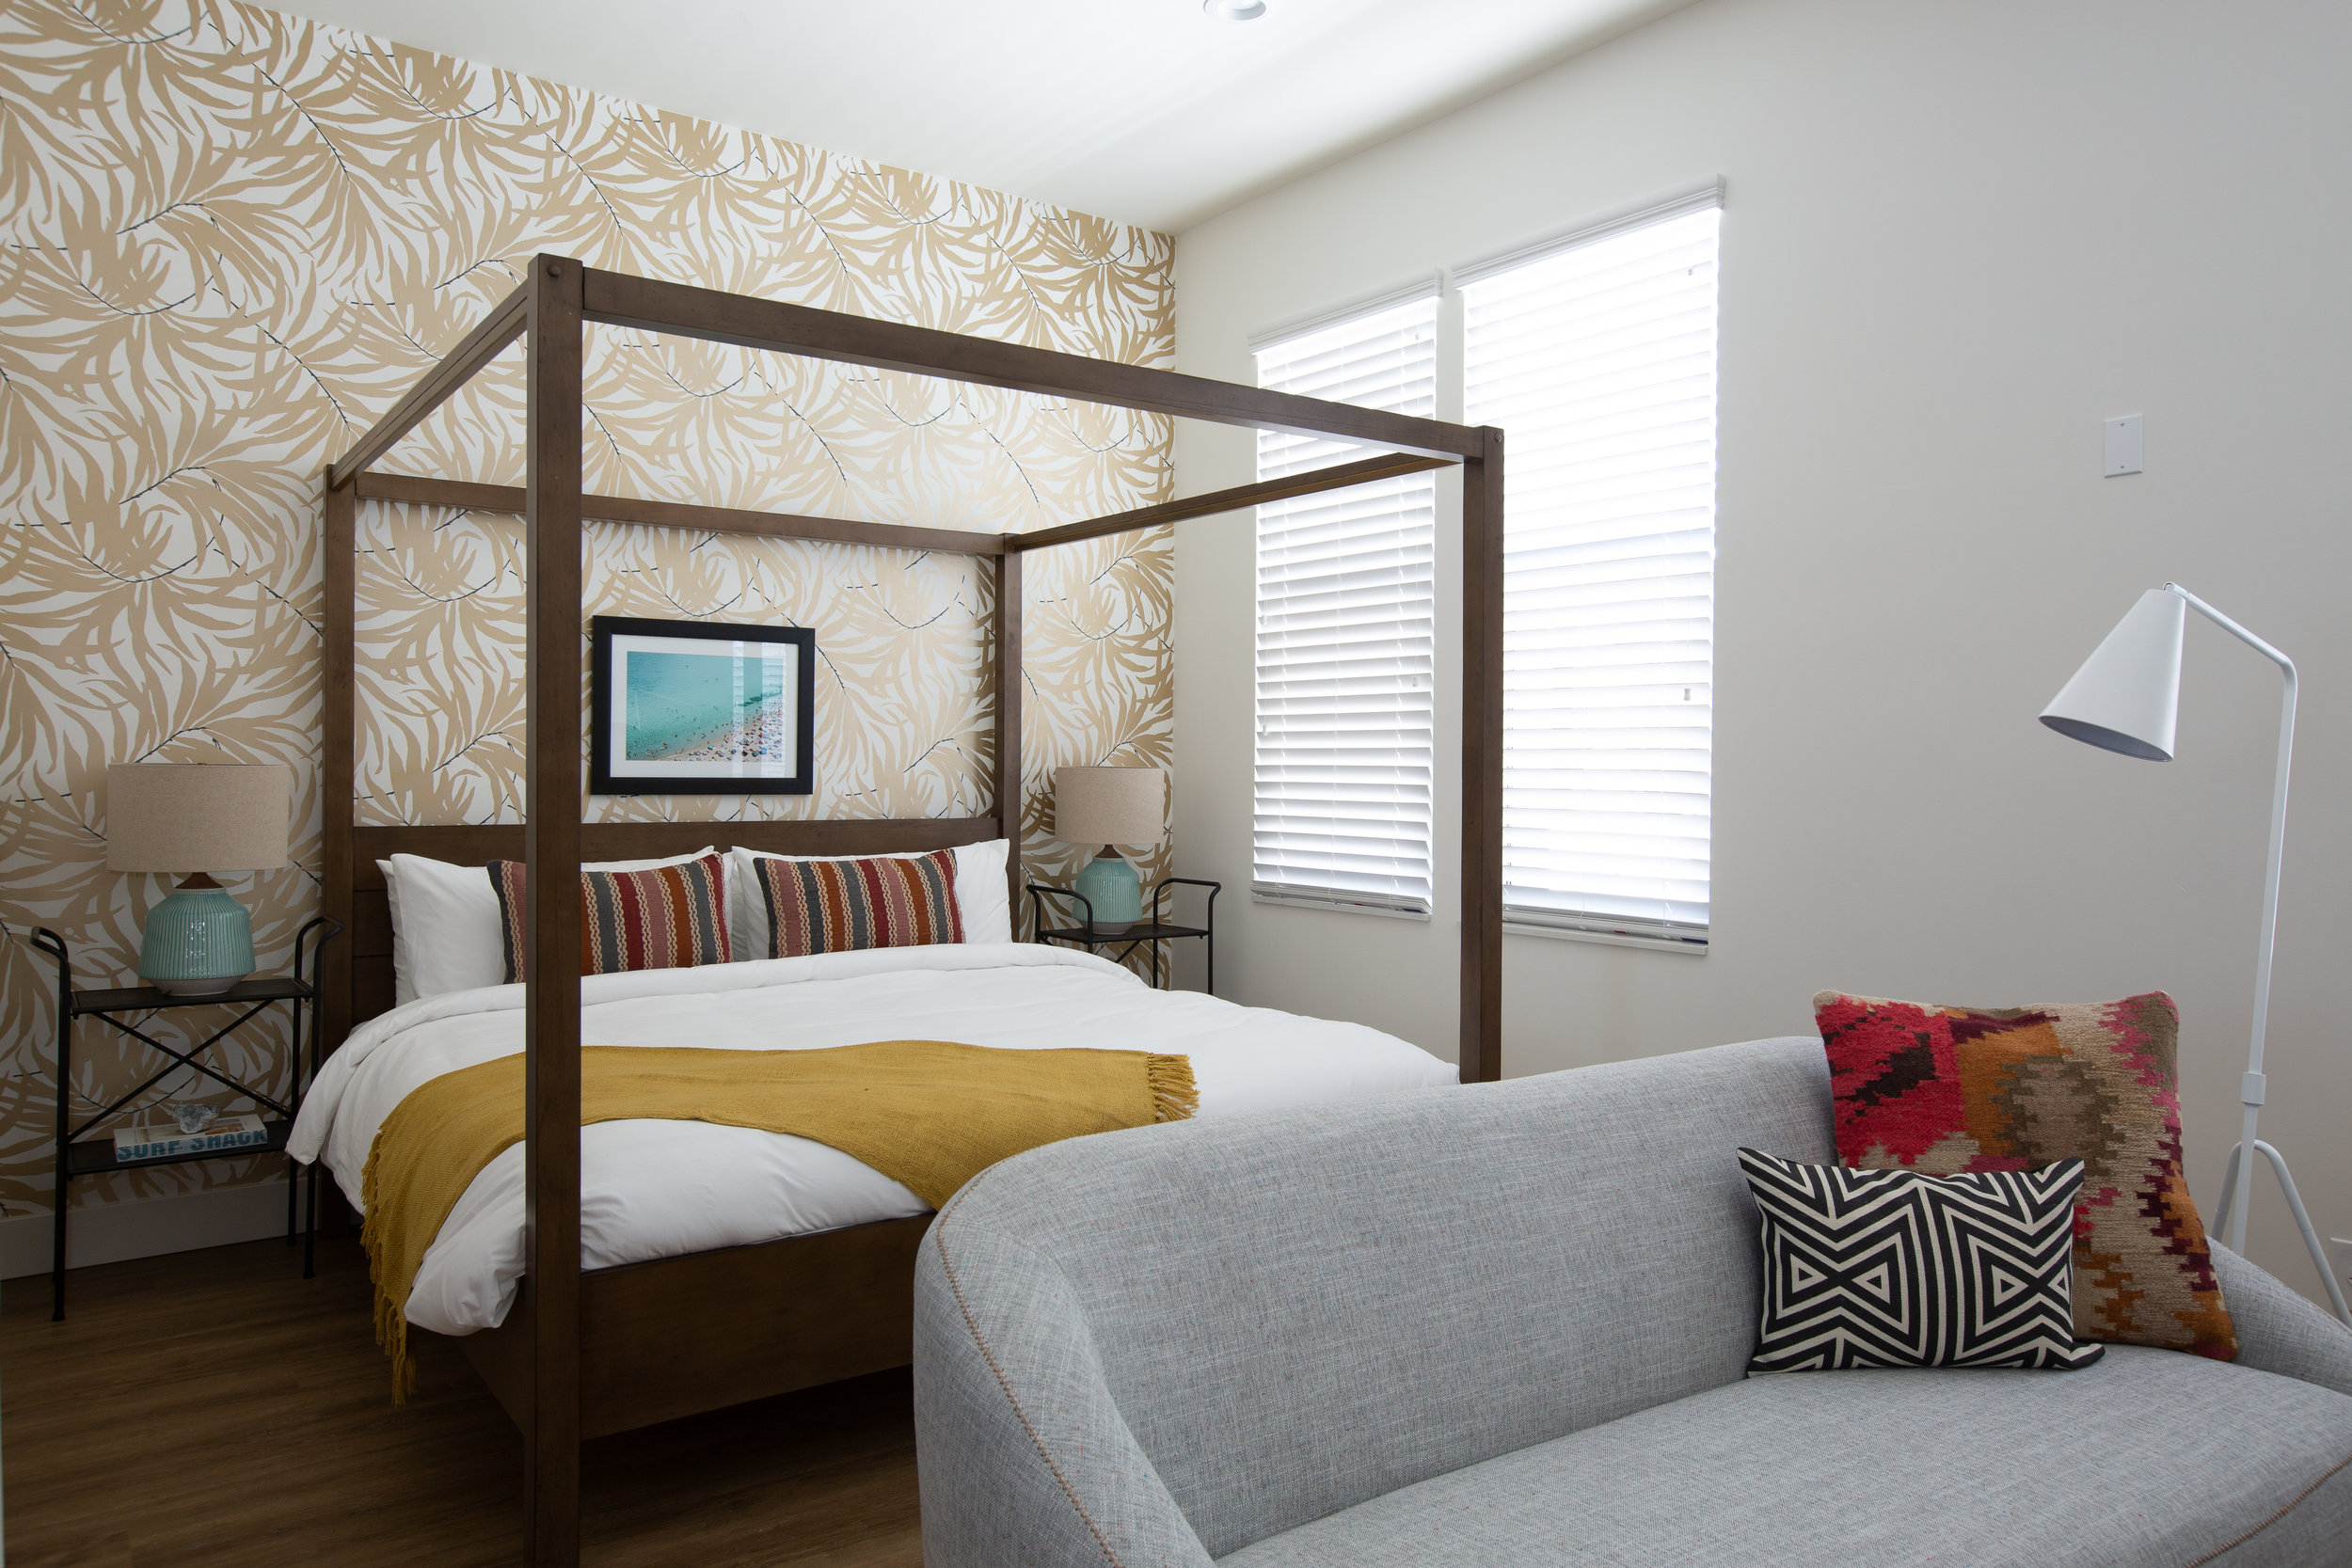
Closed blinds to even out the light.
Used a handheld flash to bounce a little light into the shadows (see next section).
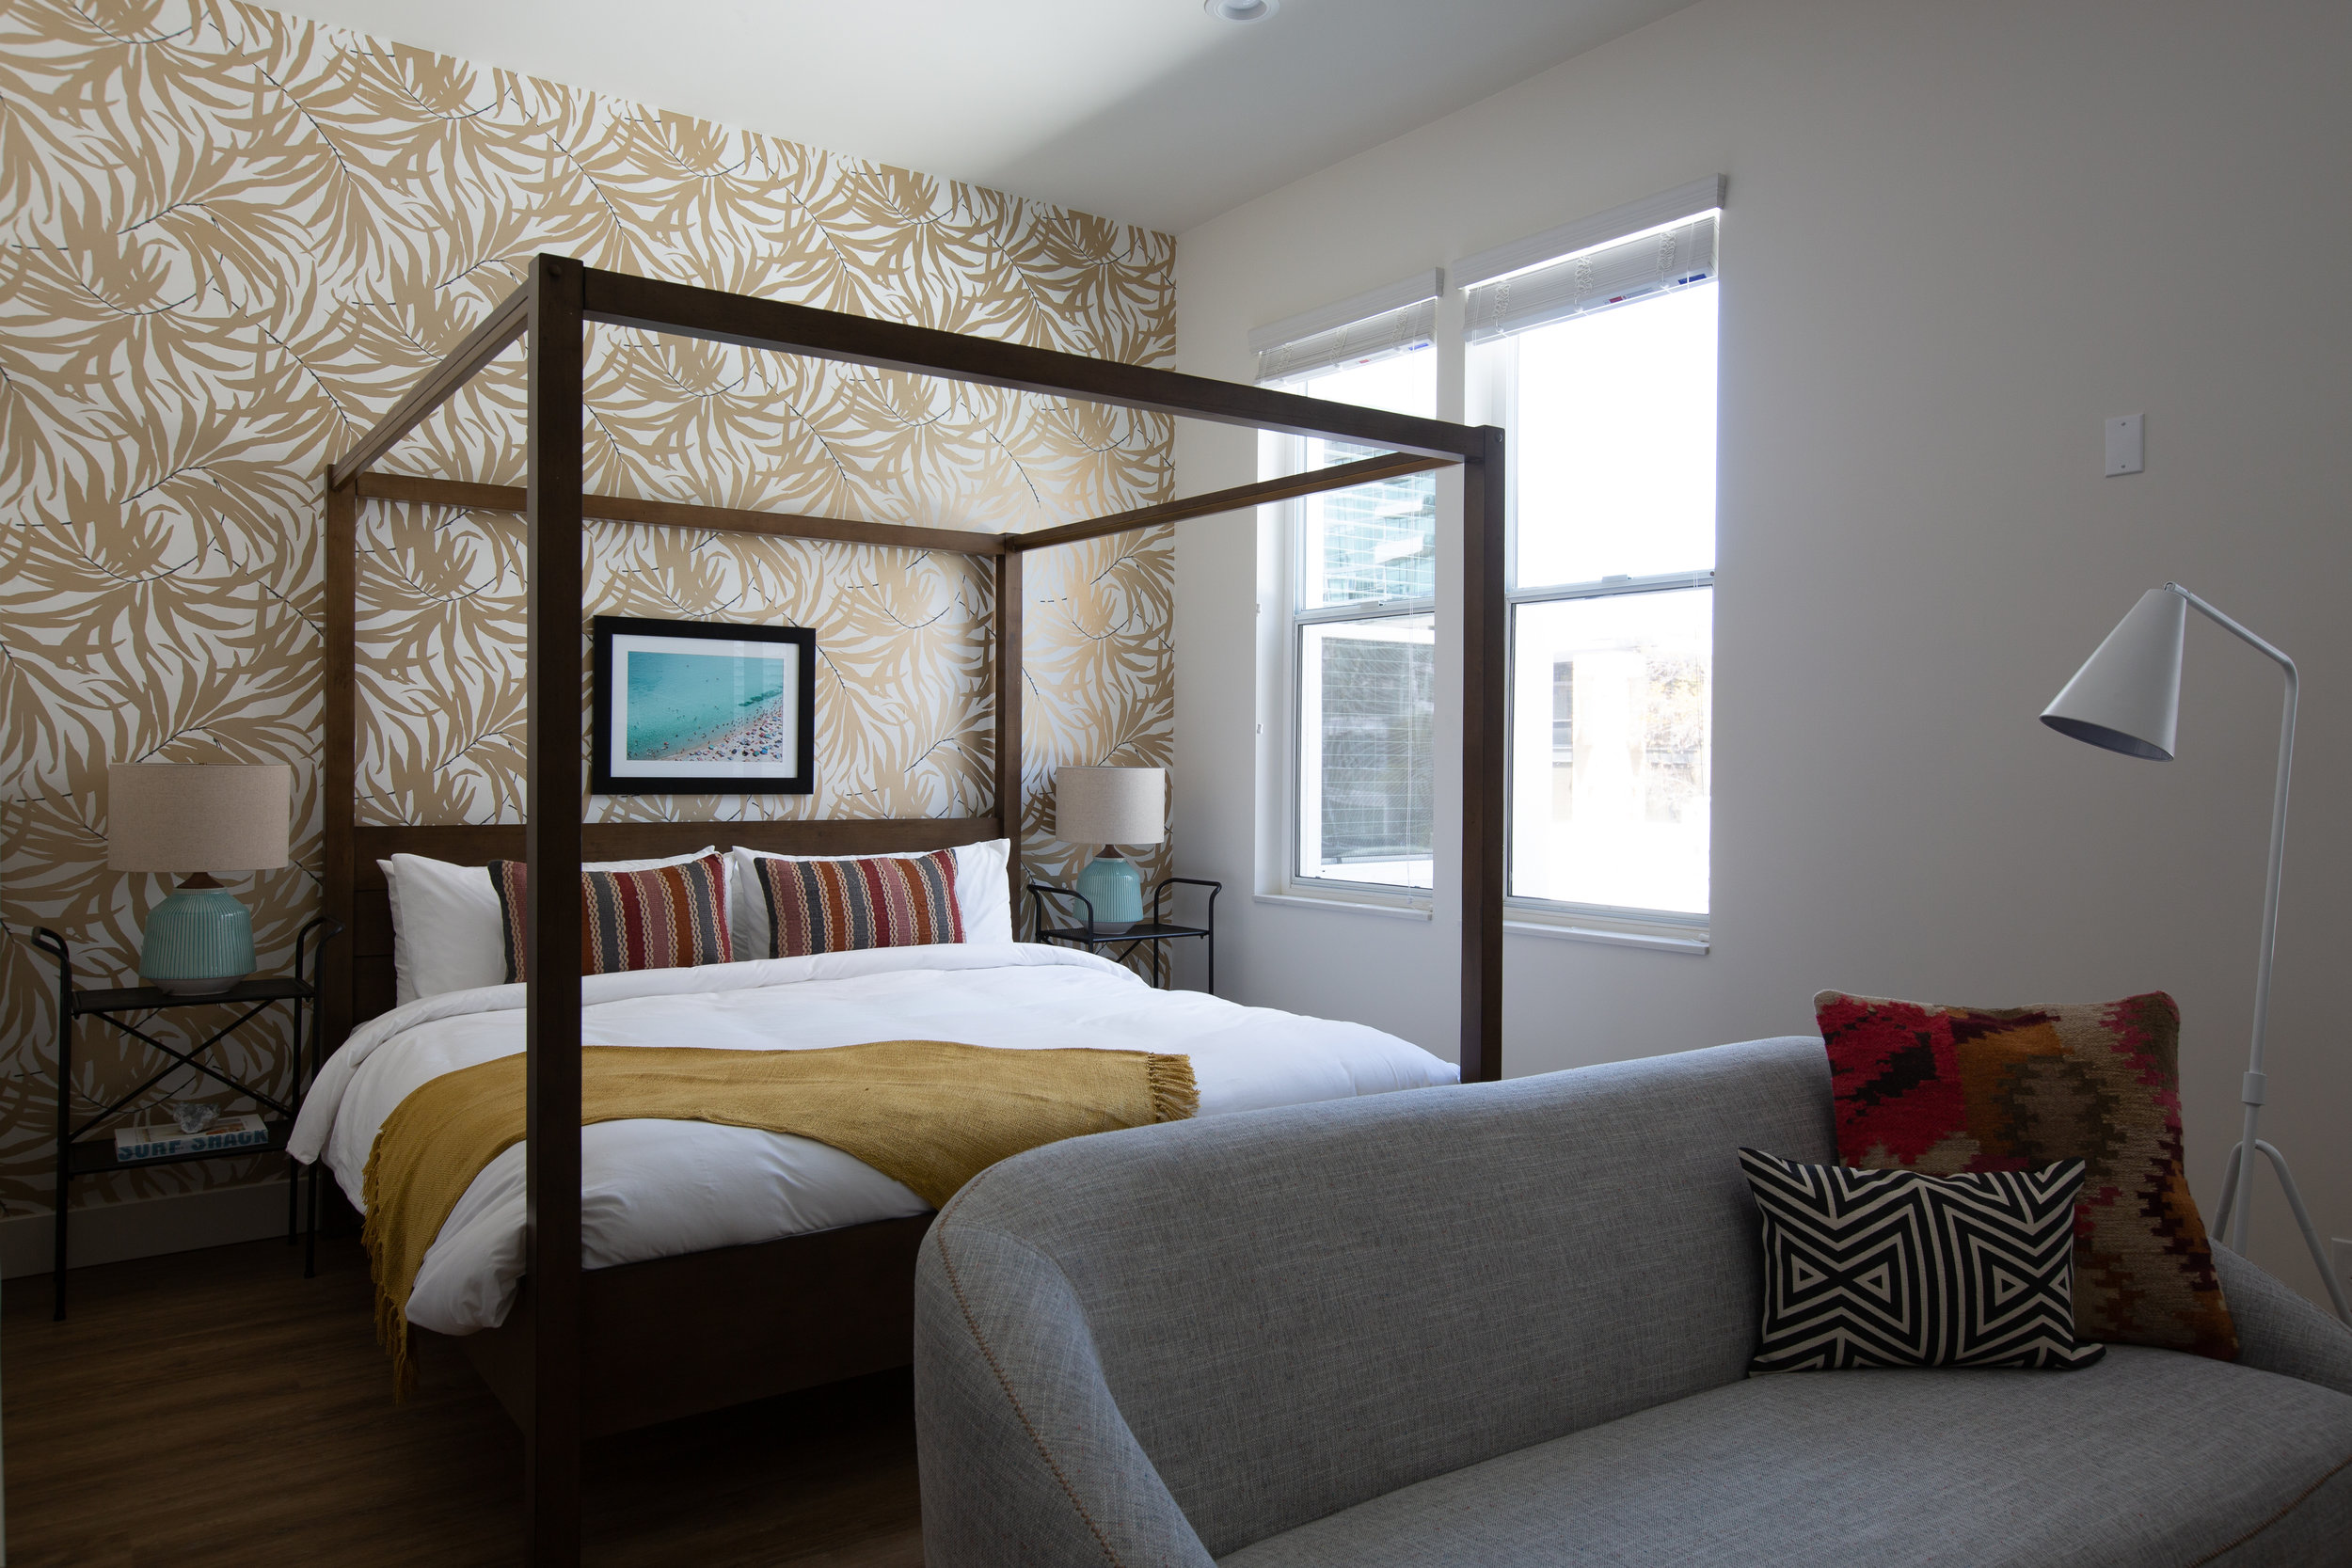
Ambient exposure that captures the window frames and natural shadows. Adds some dimension.
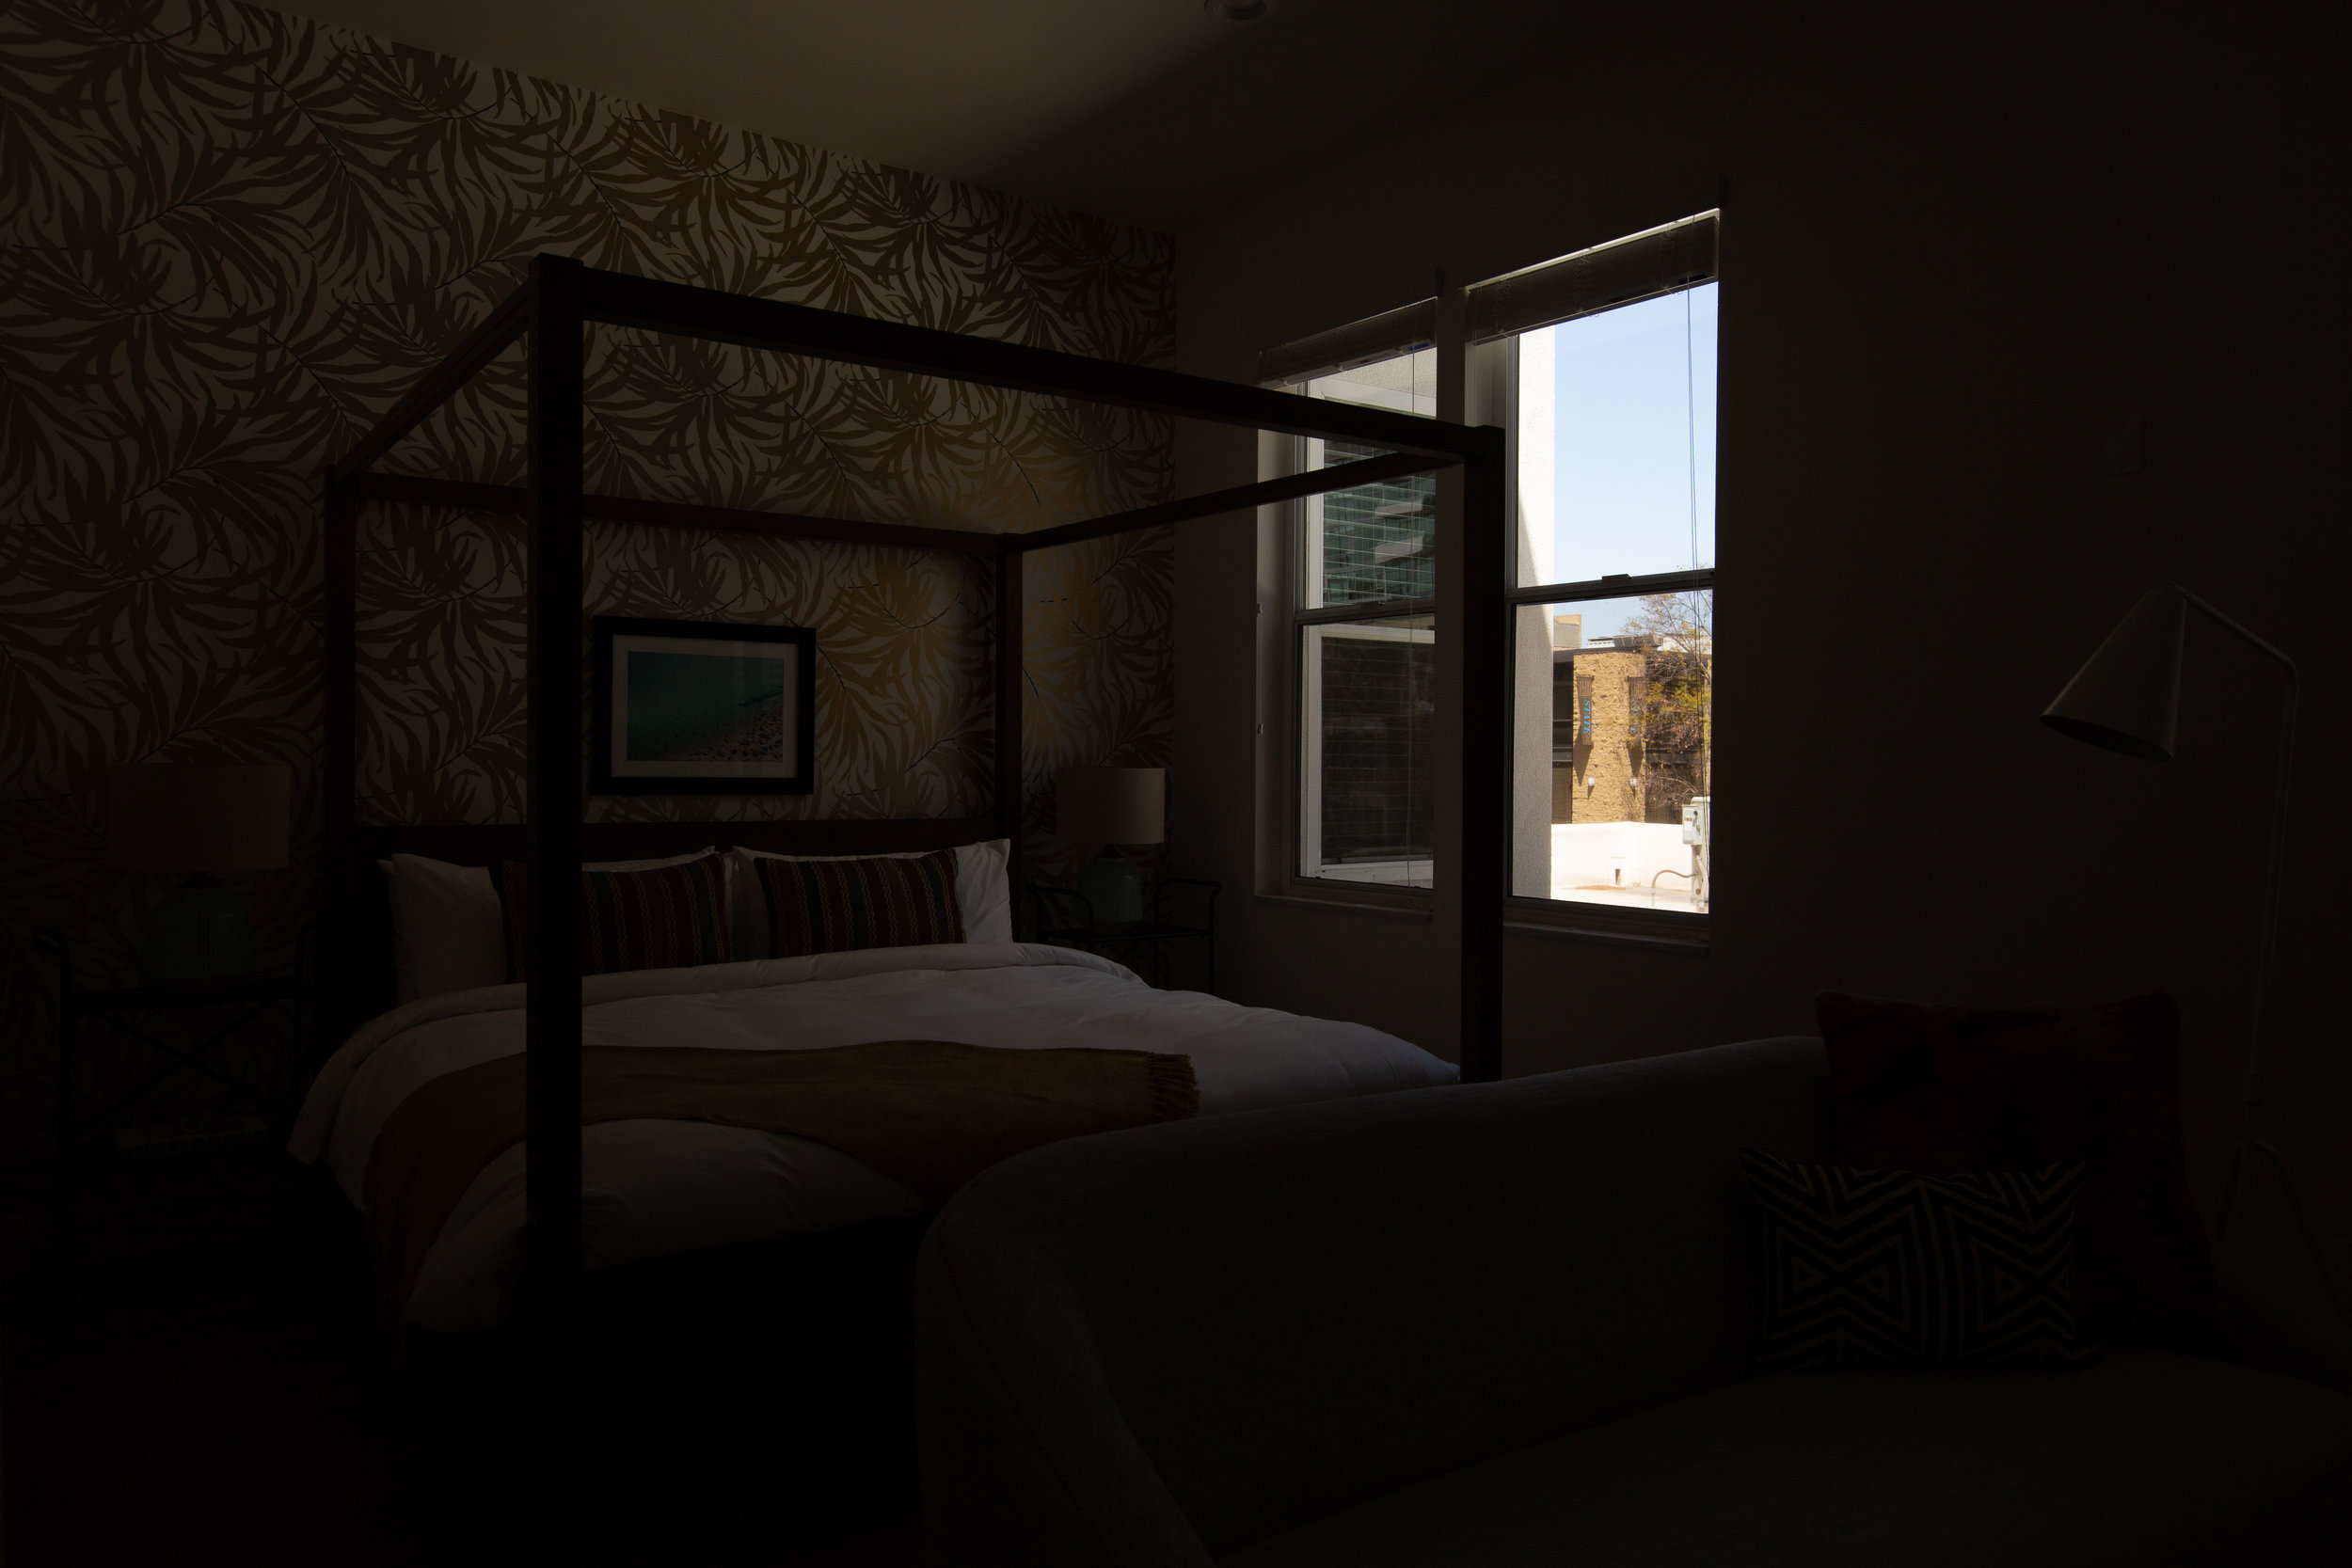
Exposed for the view out the window. Will be used to gently fill in some of the view.
USING NATURAL LIGHT
Natural light rules, and whenever possible it’s best to use only natural light. Often, though, the final photo ends up looking washed out, blown out, or too dark. There are a few things you can do to make natural light work for you and your designer clients, so let’s explore those.
Close blinds for even indoor light
If you have light streaks coming in through the windows, it can create bright white areas that are impossible to properly even out. One option for getting rid of them and creating beautiful even light is to close blinds or curtains until the bright spots go away. Often this doesn’t mean closing blinds or curtains completely, so only close them as much as needed to eliminate the bright spots. Then you may need to adjust your camera settings for a longer shutter speed to compensate for darker conditions in the room. Once you have the shot for the inside of the room, be sure to get a second frame that shows the window open, with the exposure adjusted so that it’s not too blown out. This shot will be used to overlay so that the final photo shows a room that’s evenly lit with an open window. Magic!
Use a reflector to help with shadows
I love having a reflector handy for many reasons, but its main function is to reflect light. Hold it towards the shaded areas of a space and adjust until it reflects some light into the shadows. This will require that you have an assistant or only use the reflector when your camera is on a tripod and on a timer. Be sure to play a bit with angles and distances to see how the reflected light looks best. This option doesn’t give as much control as others, but is a very inexpensive and mobile way to add a bit of light to a scene!
Bracketed shots
Bracketing shots allows you to get some photos that expose for shadows and some that expose for highlights. You then layer these photos to create one final HDR (High Dynamic Range) image that’s more evenly exposed. You’ll most likely use some form of bracketing when photographing interiors, even if you do add artificial lights, so being familiar with this method is an important skill to have!
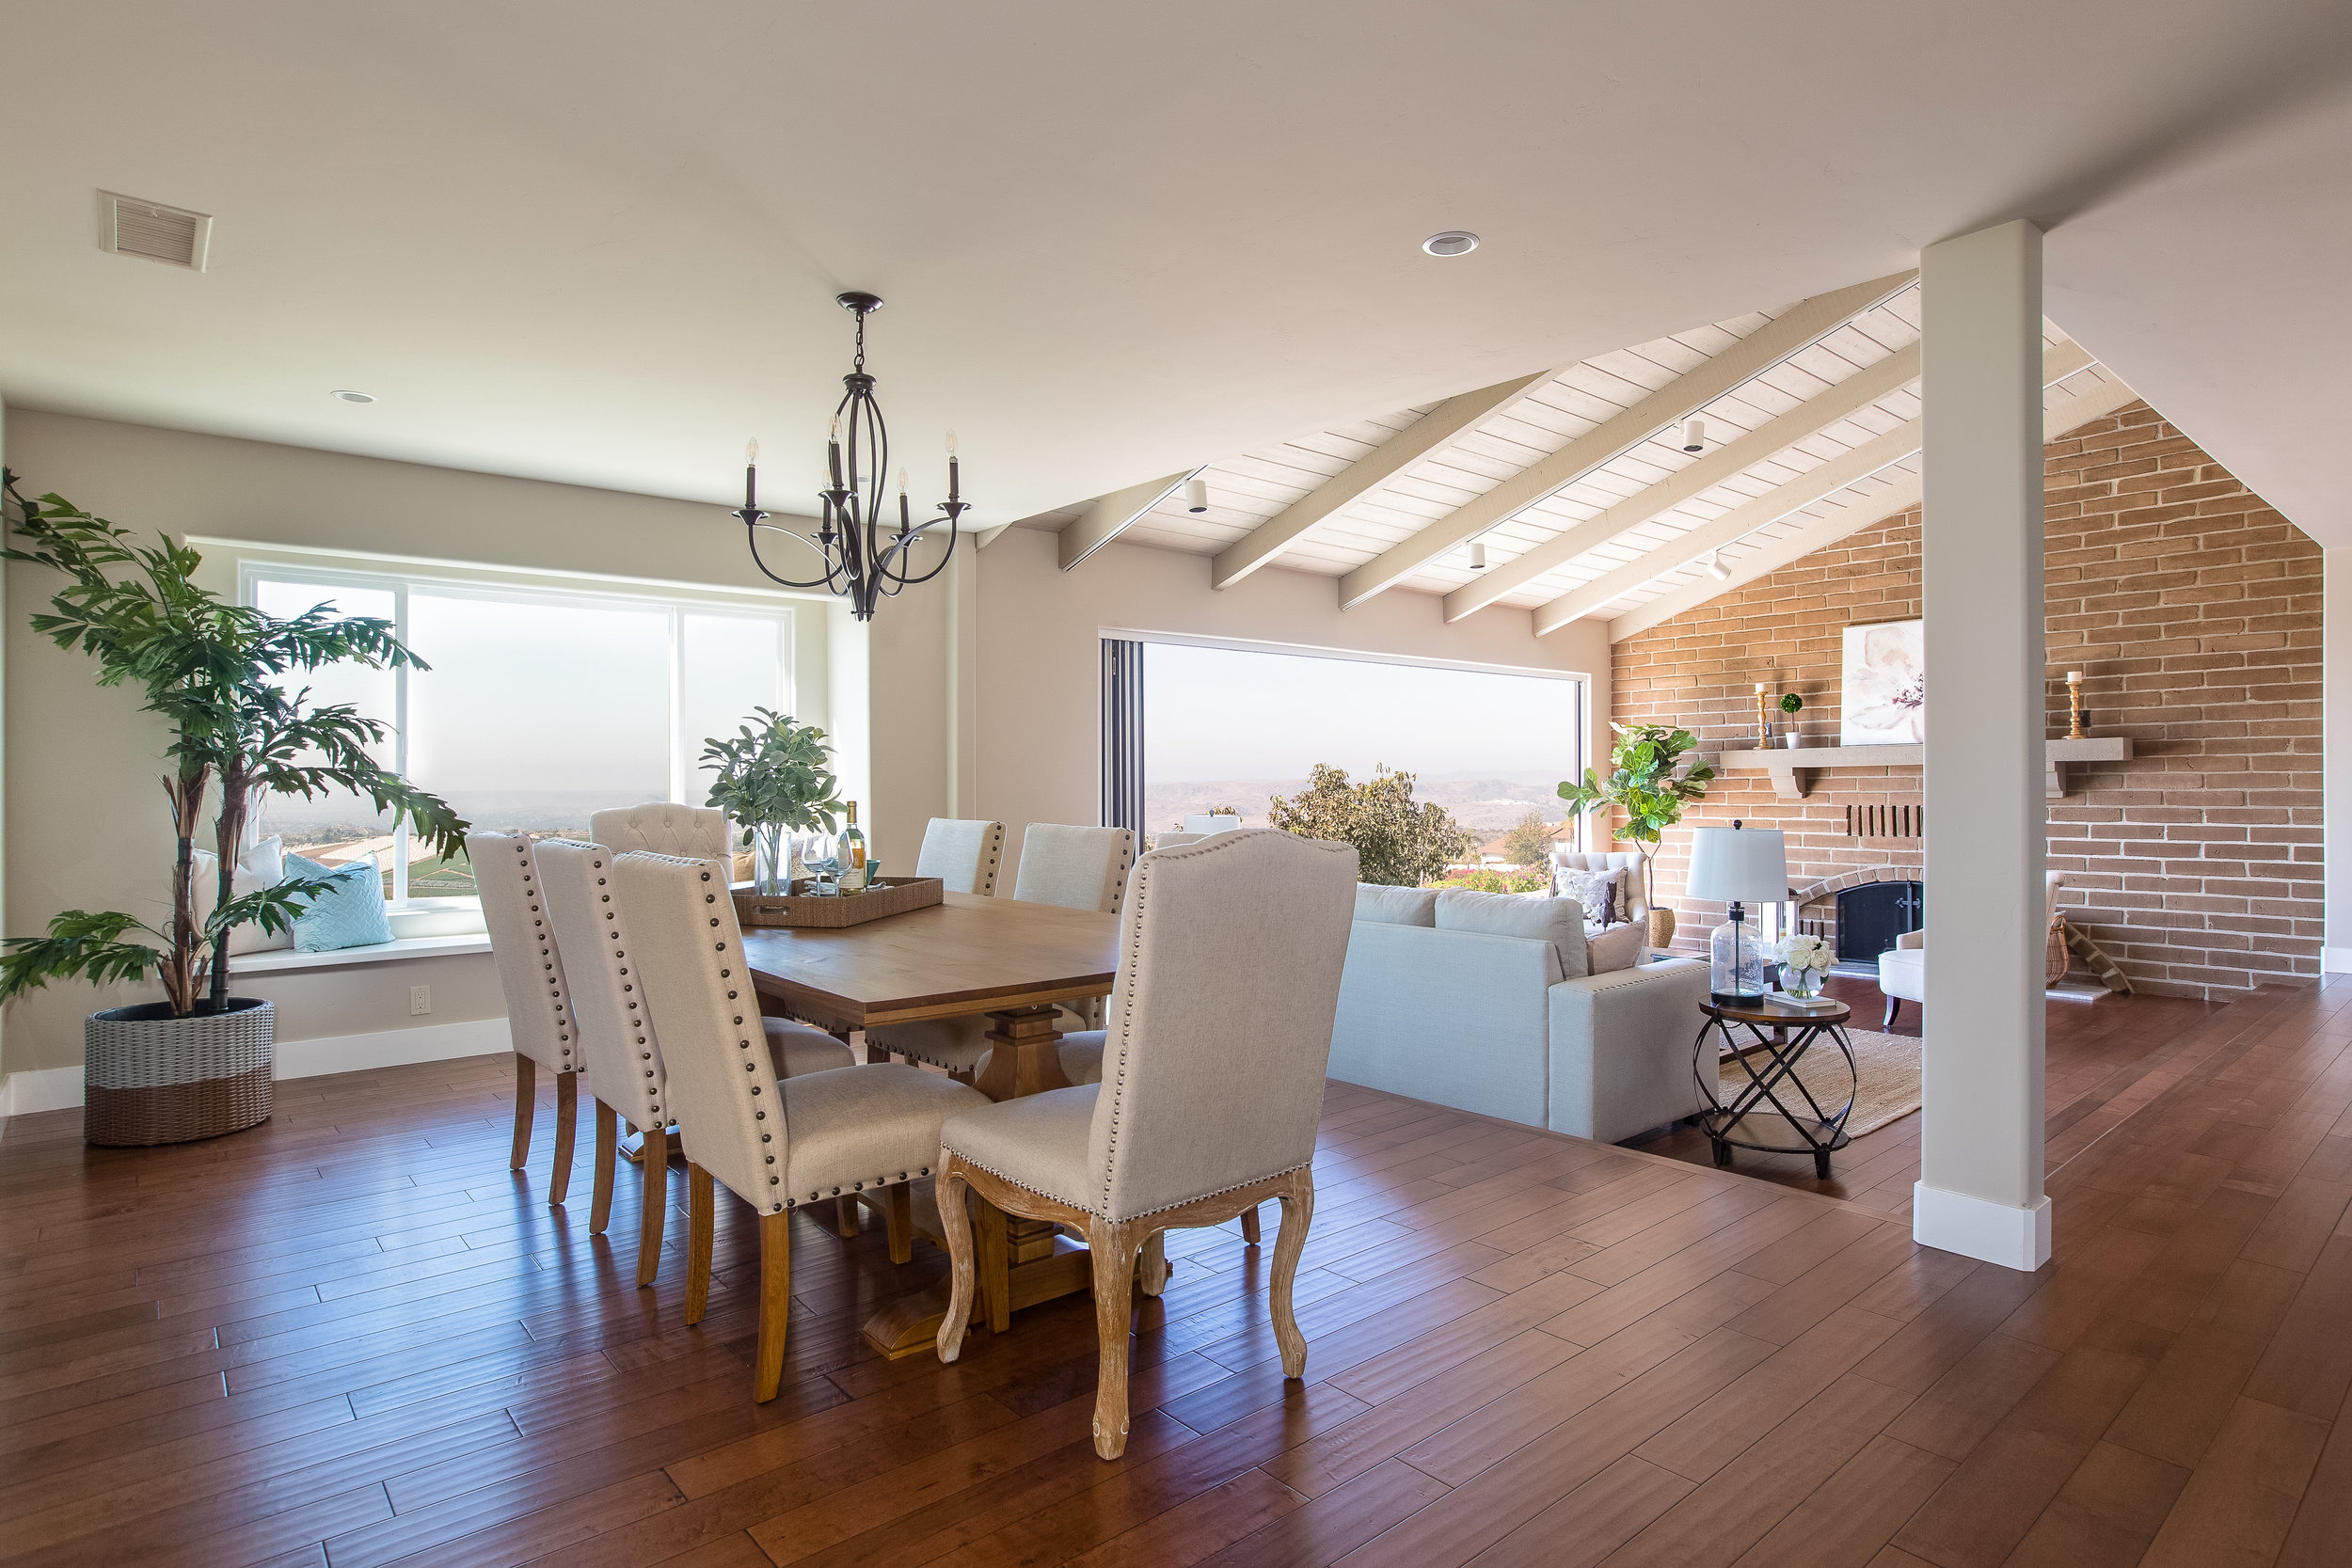
Final photos. See below for the exposures that created this composite.
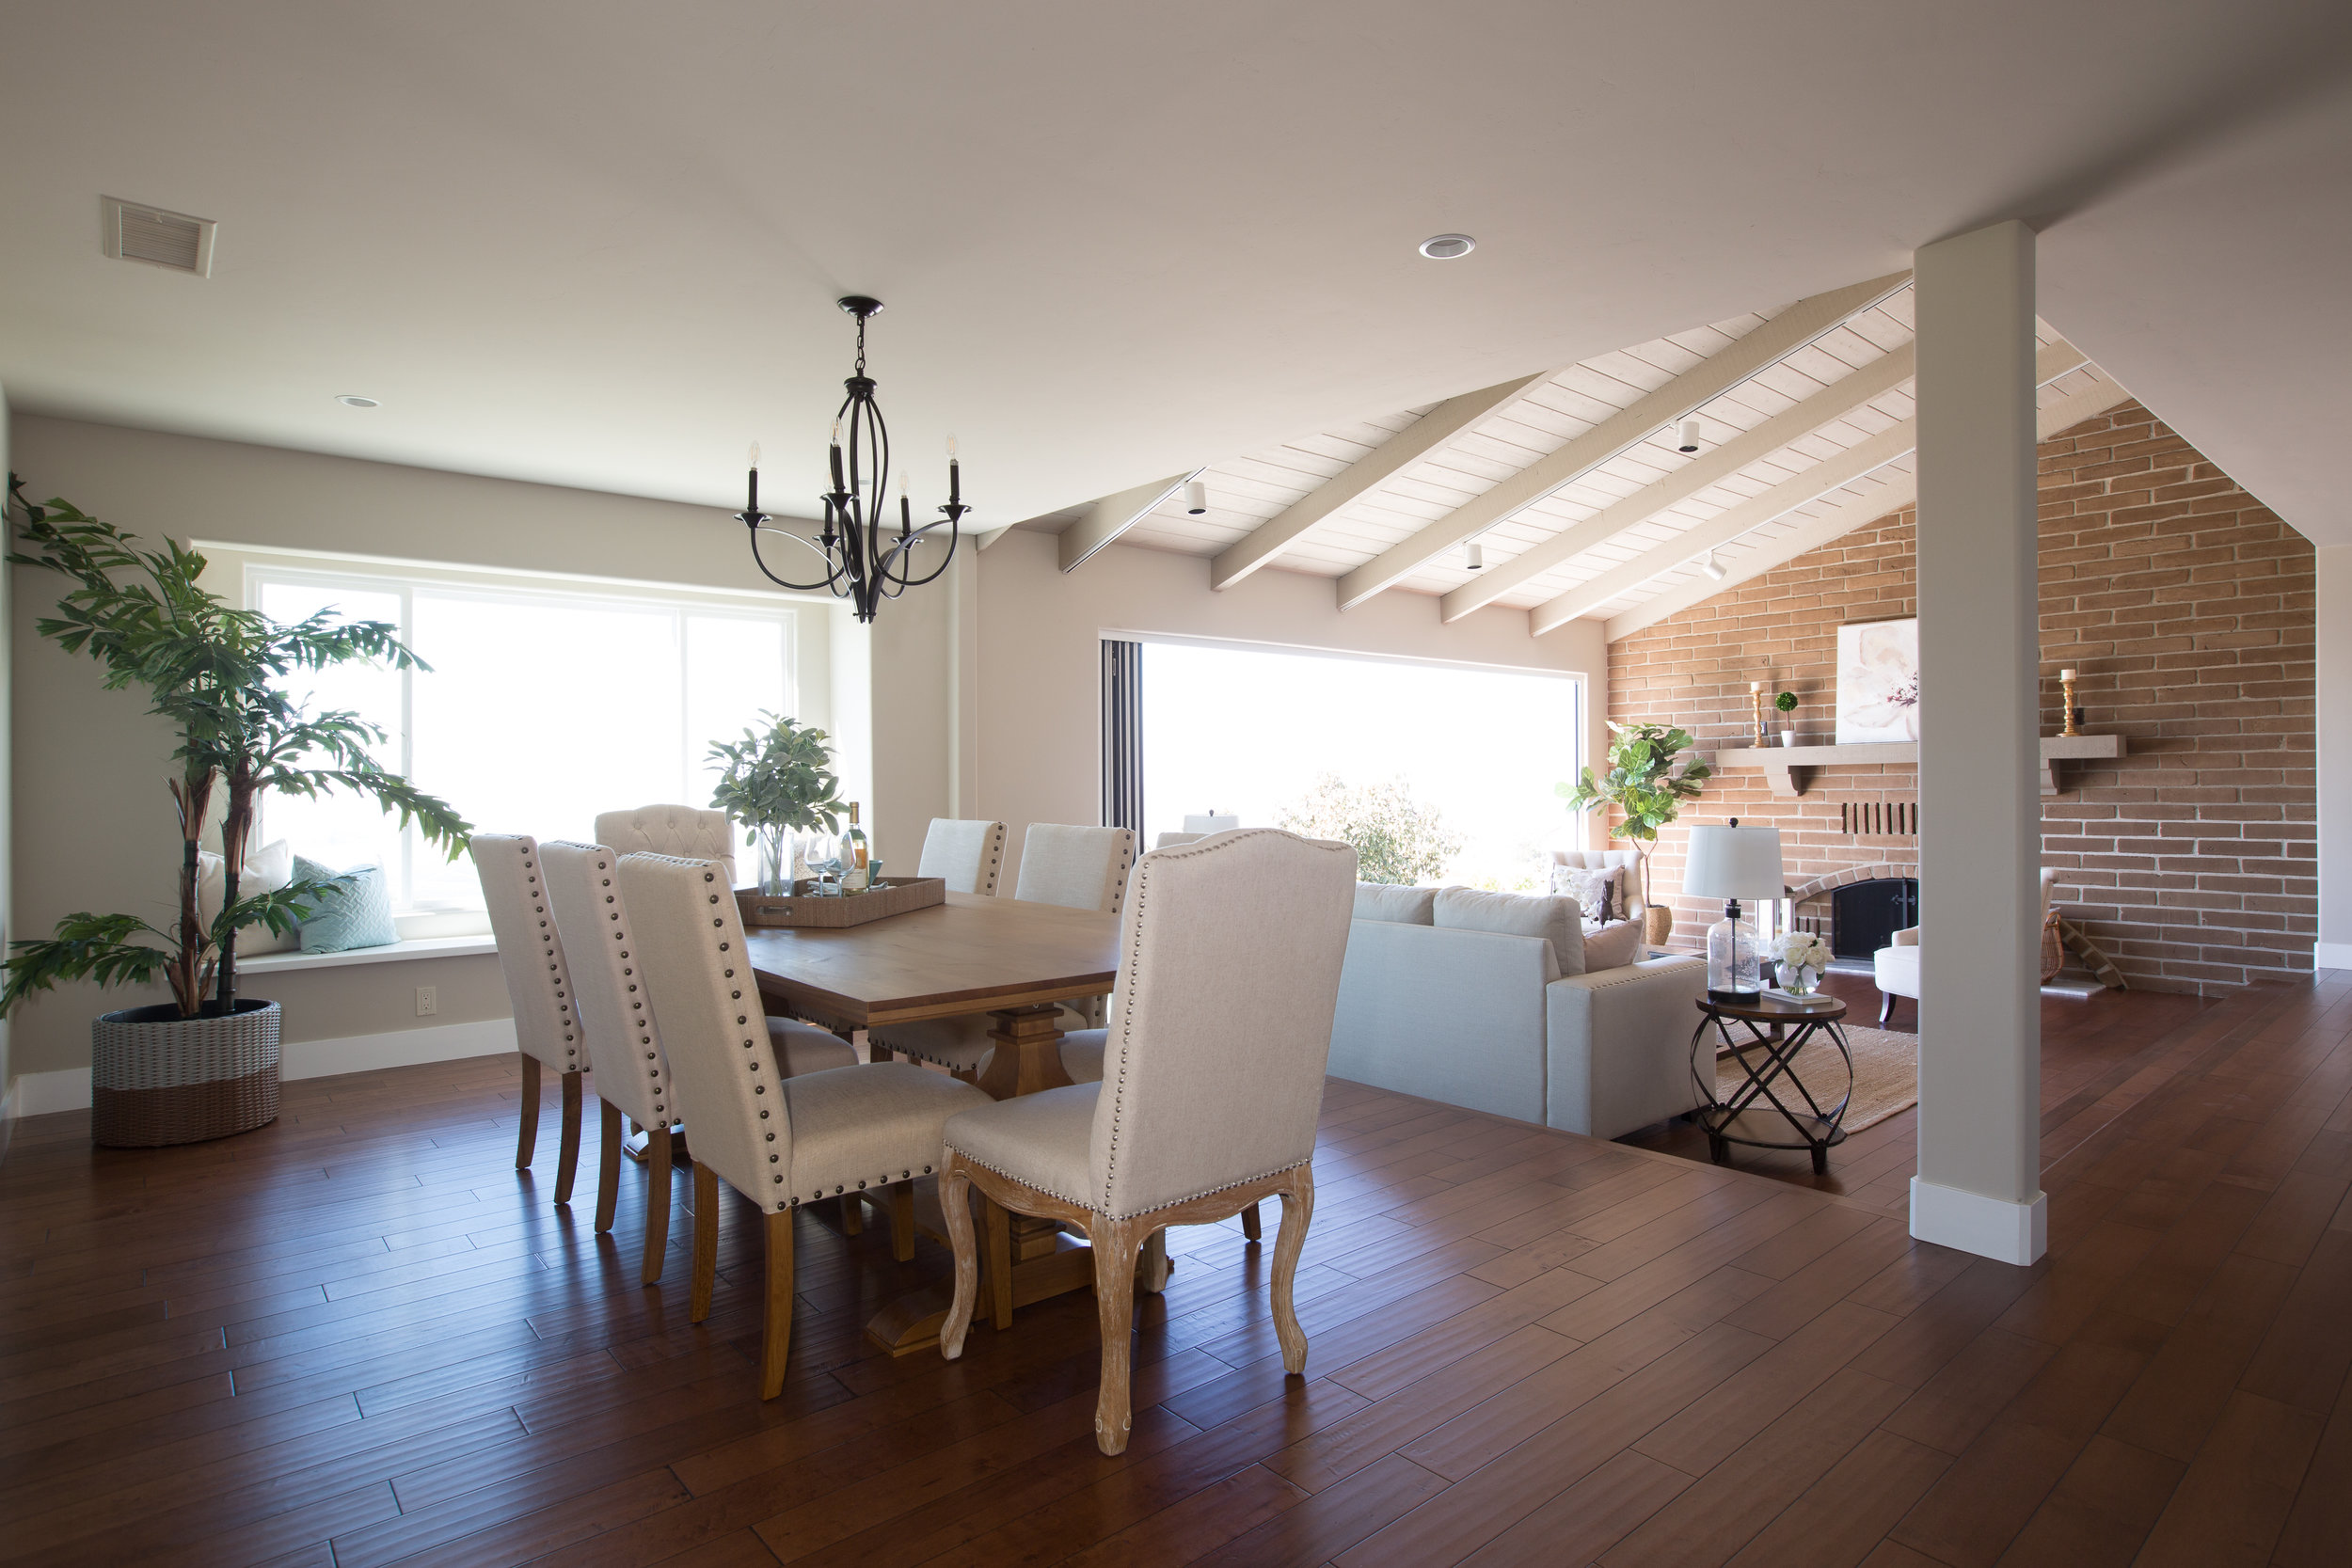
Flash is pointed at wall to camera right, bouncing light onto the back of the chair at the end of the table.
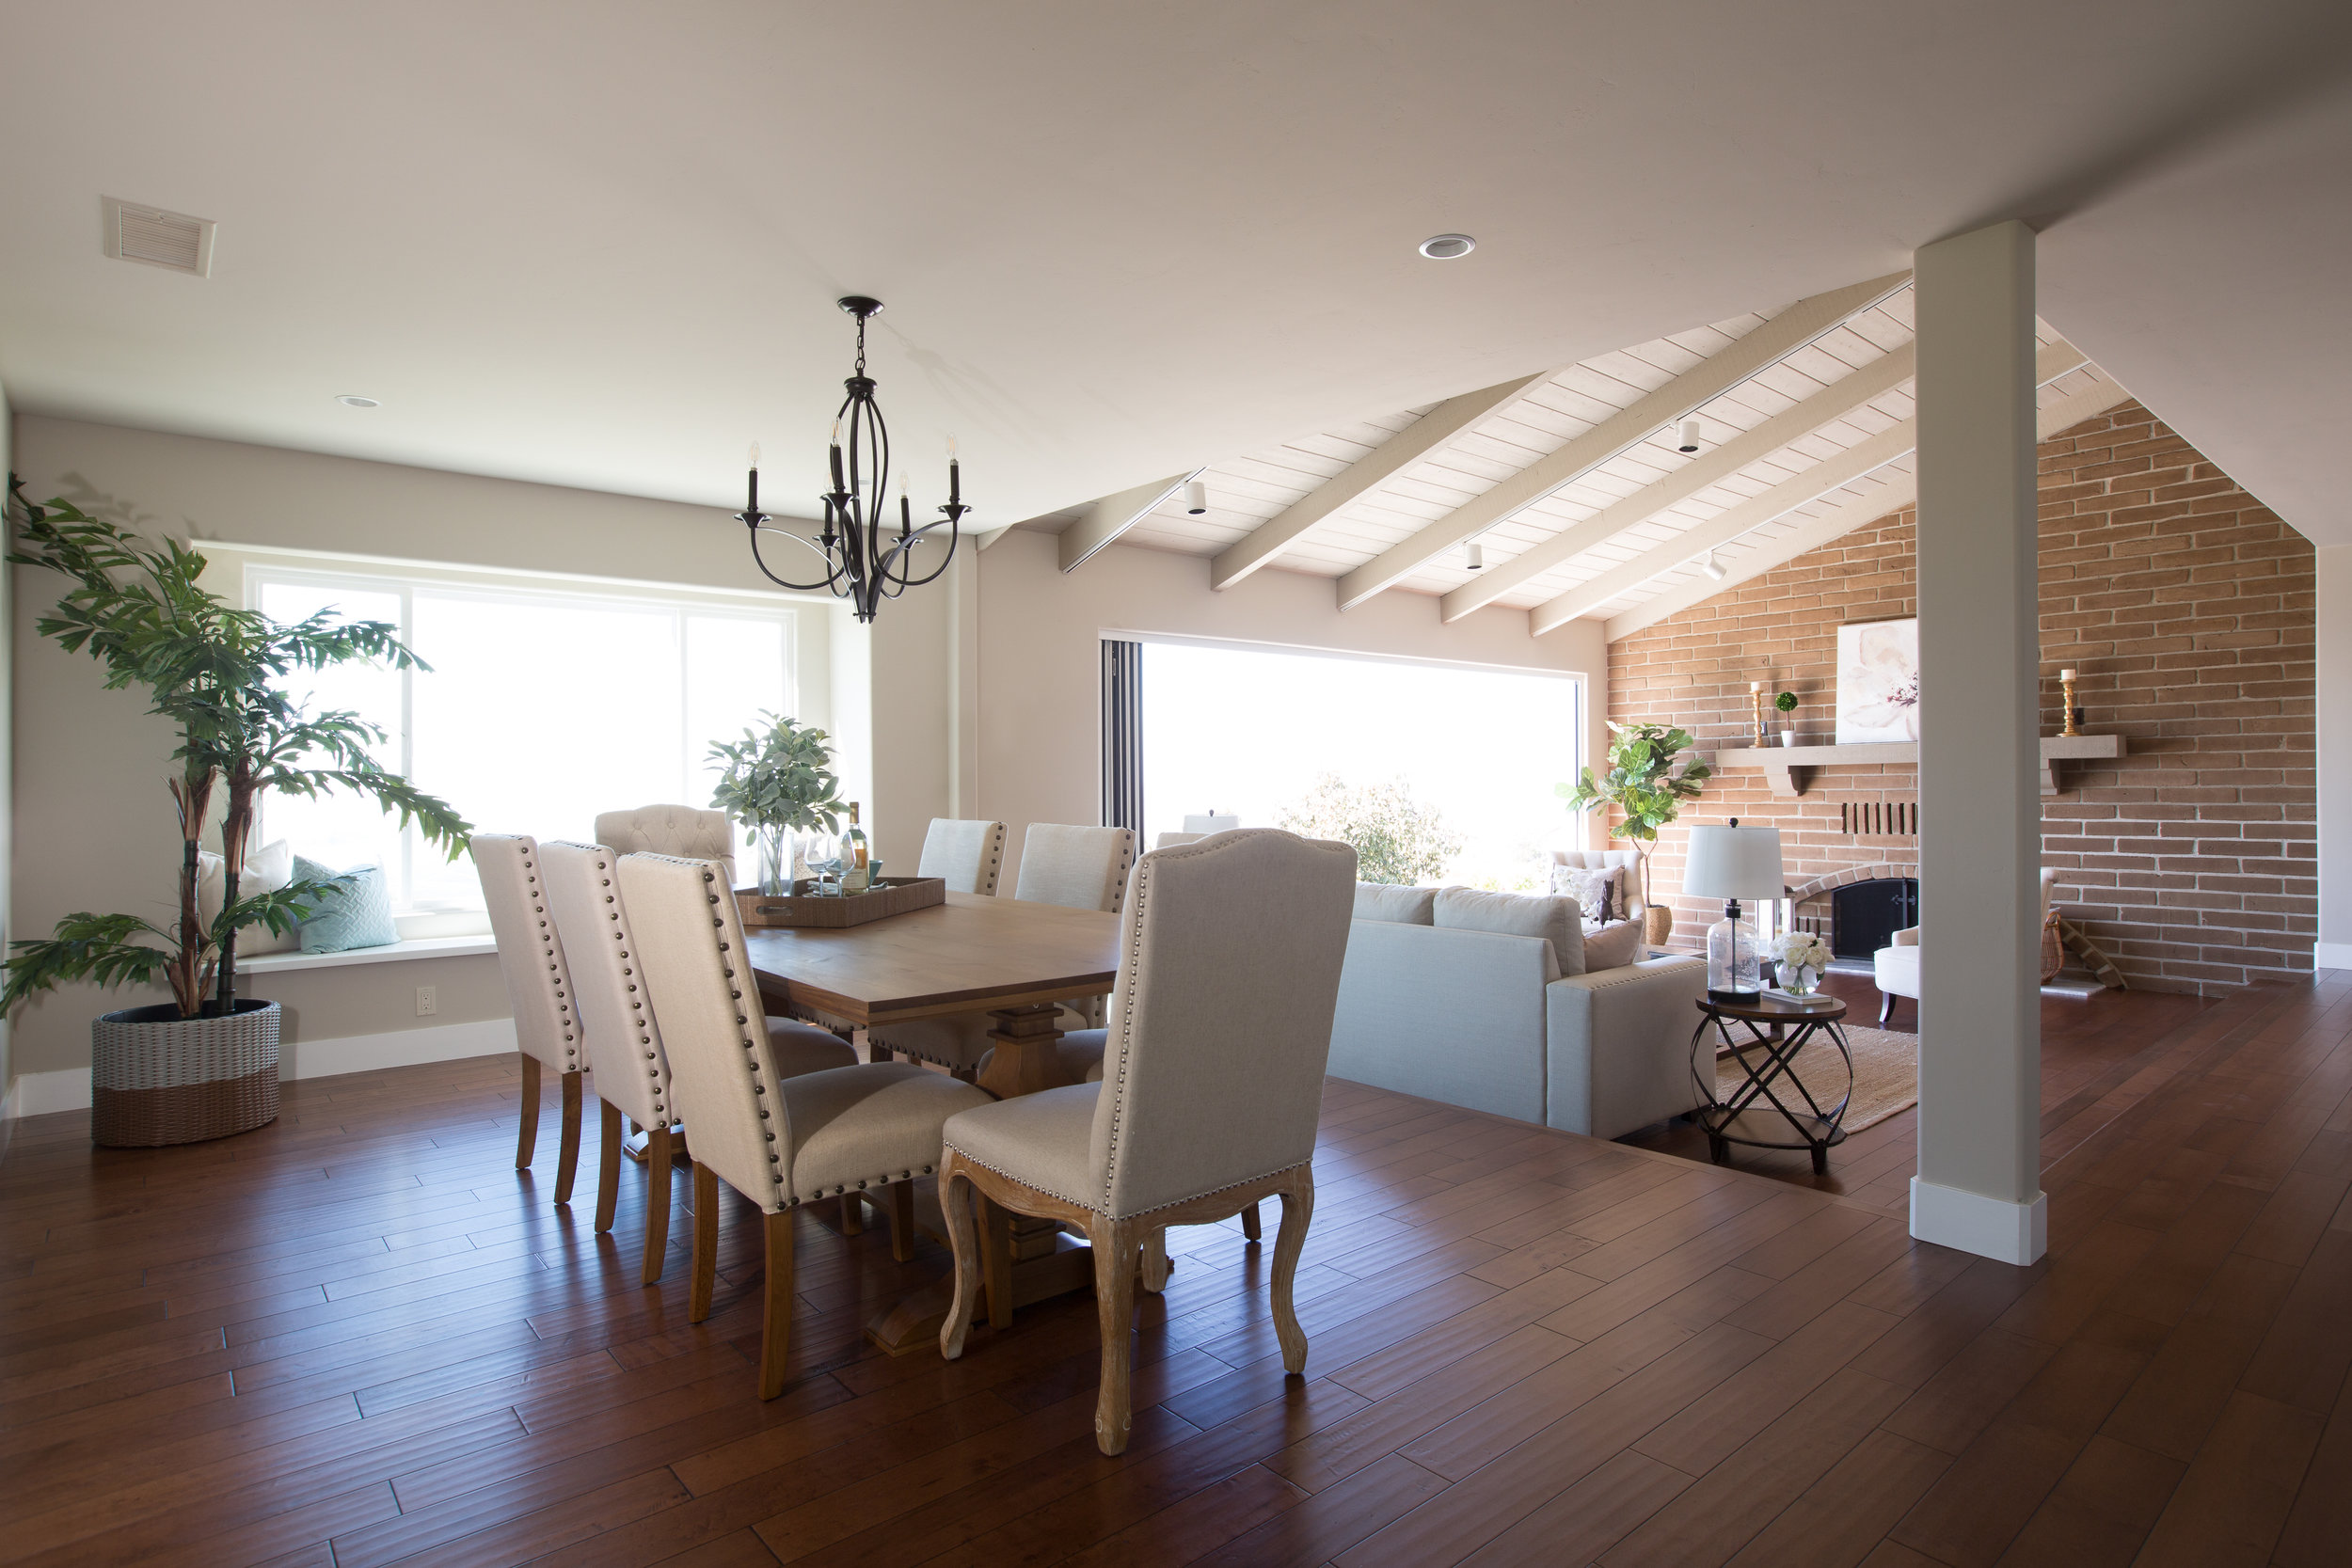
Flash is pointed at wall and ceiling to camera left, bouncing light onto the backs of the three chairs along the side of the table.
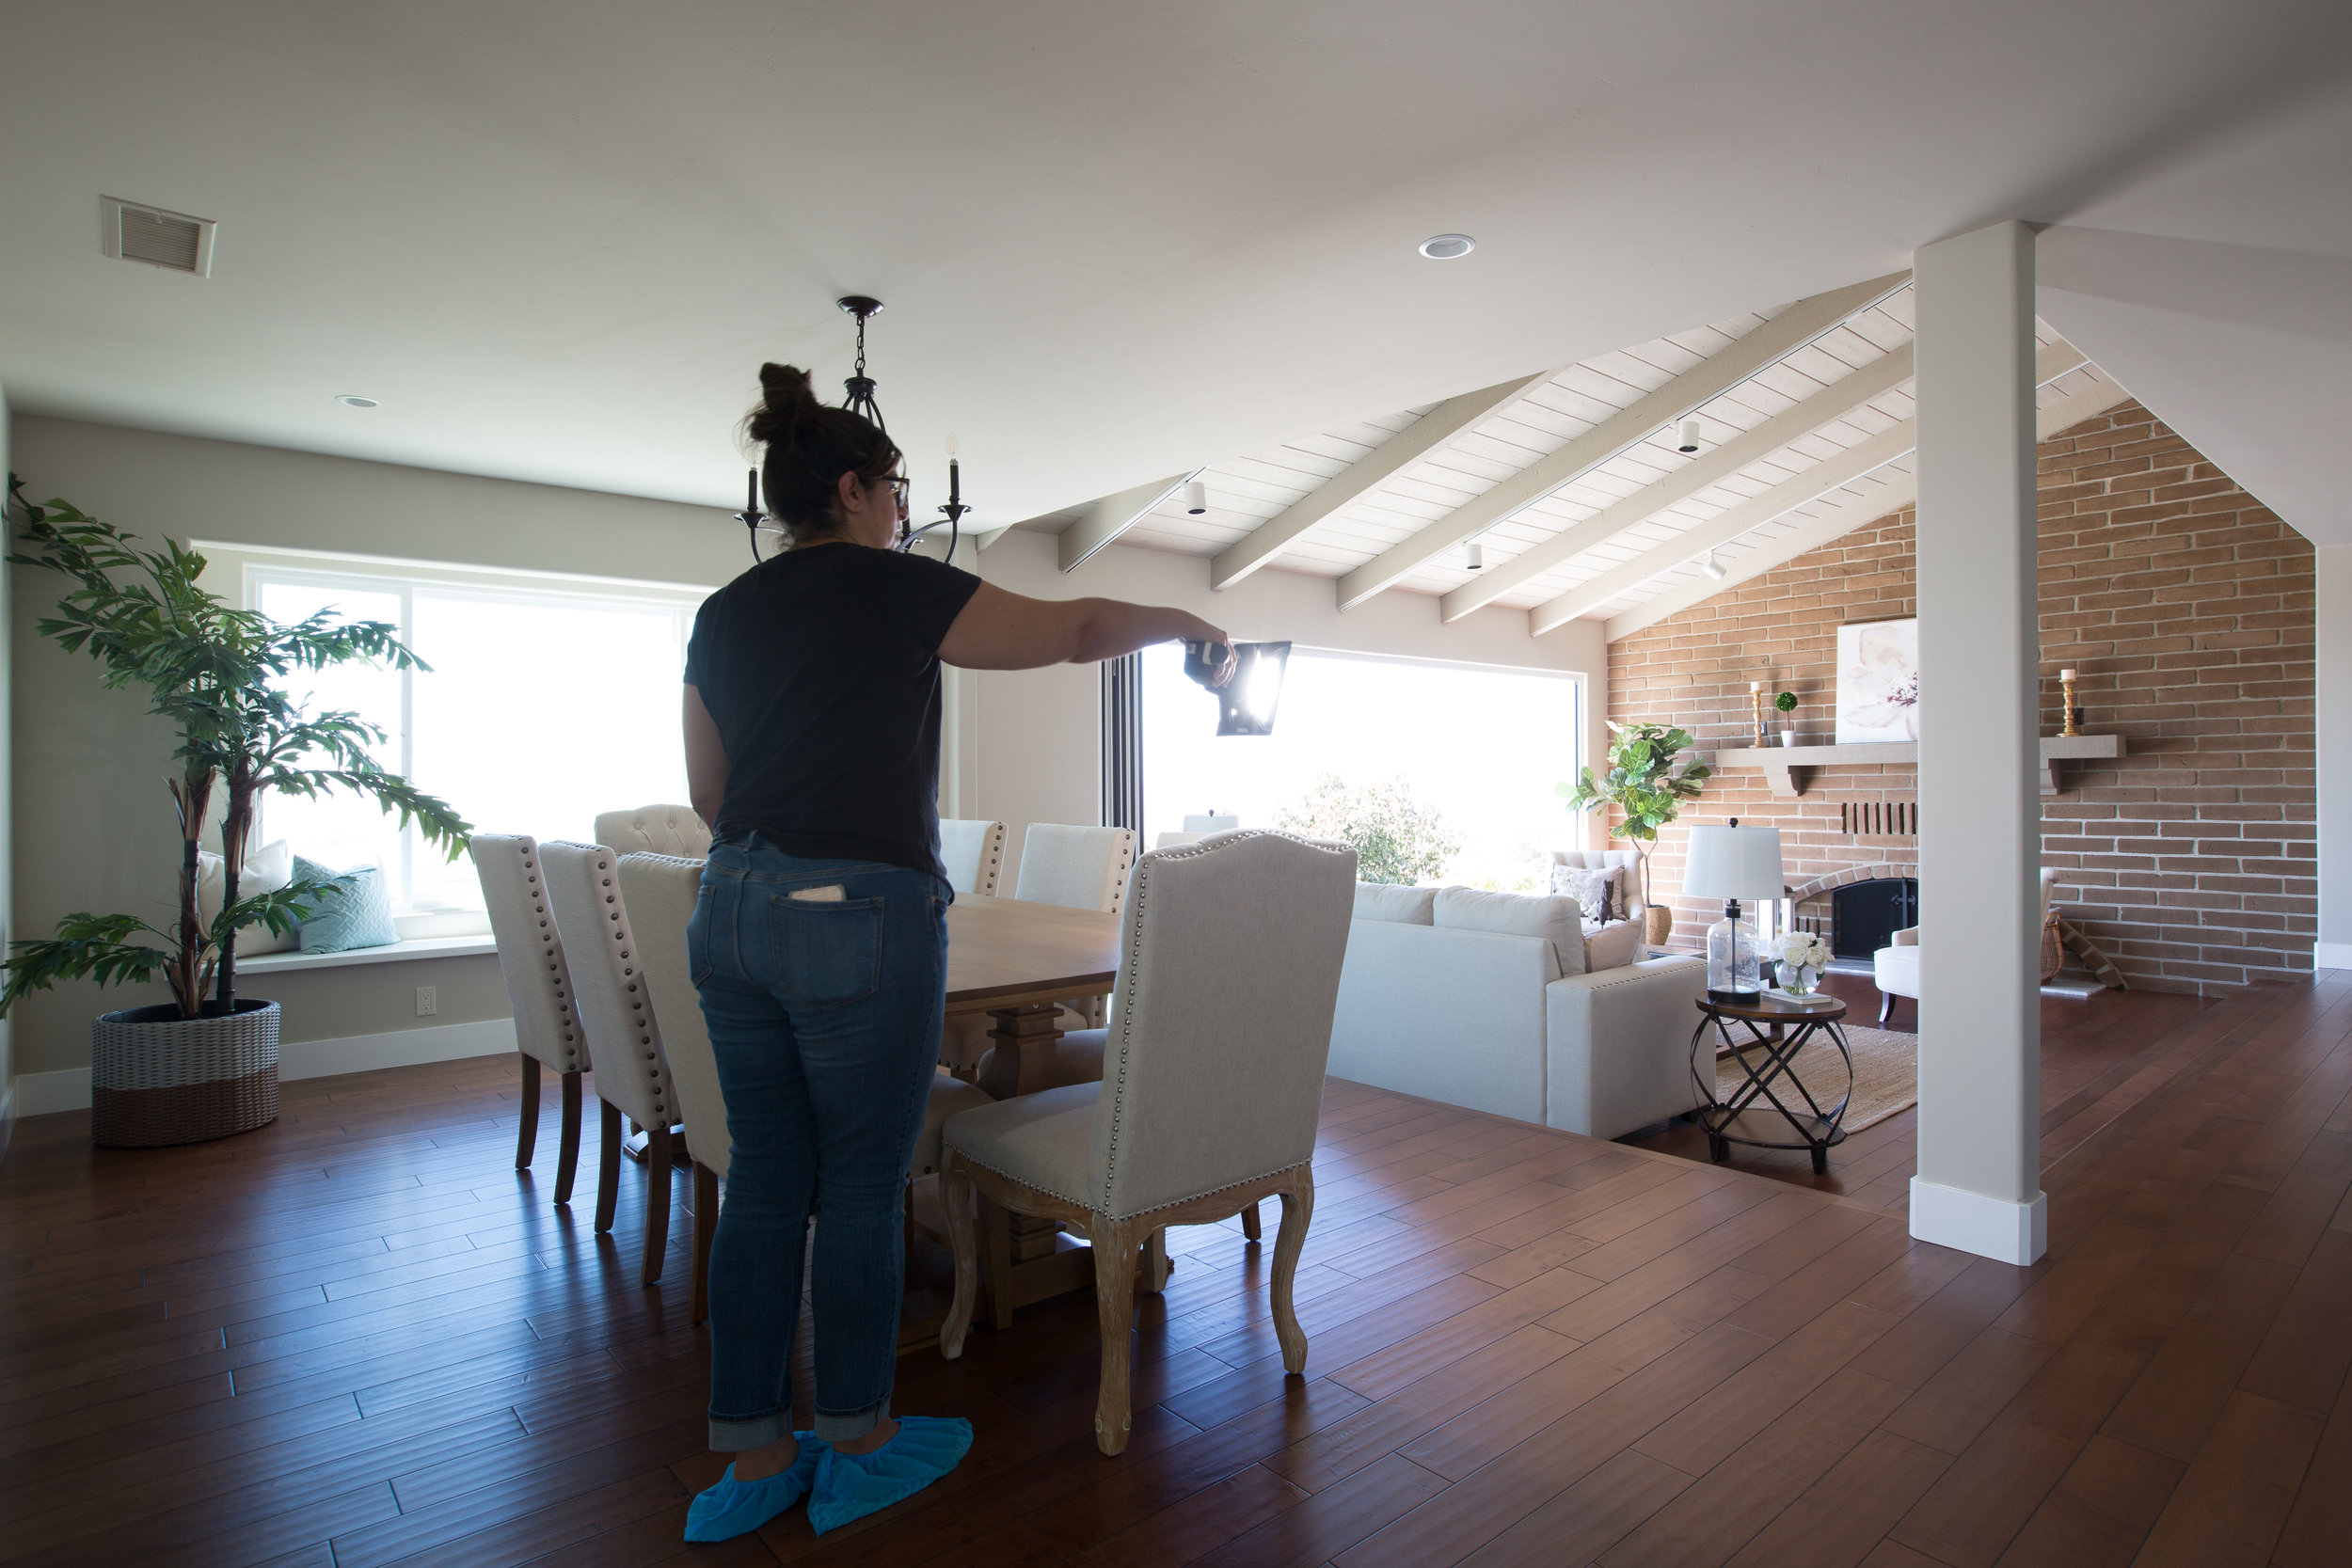
Flash (with a diffuser on it) is pointed directly at sofa and end table with lamp in living room. Adds a little dimension to the sofa back and end table items.
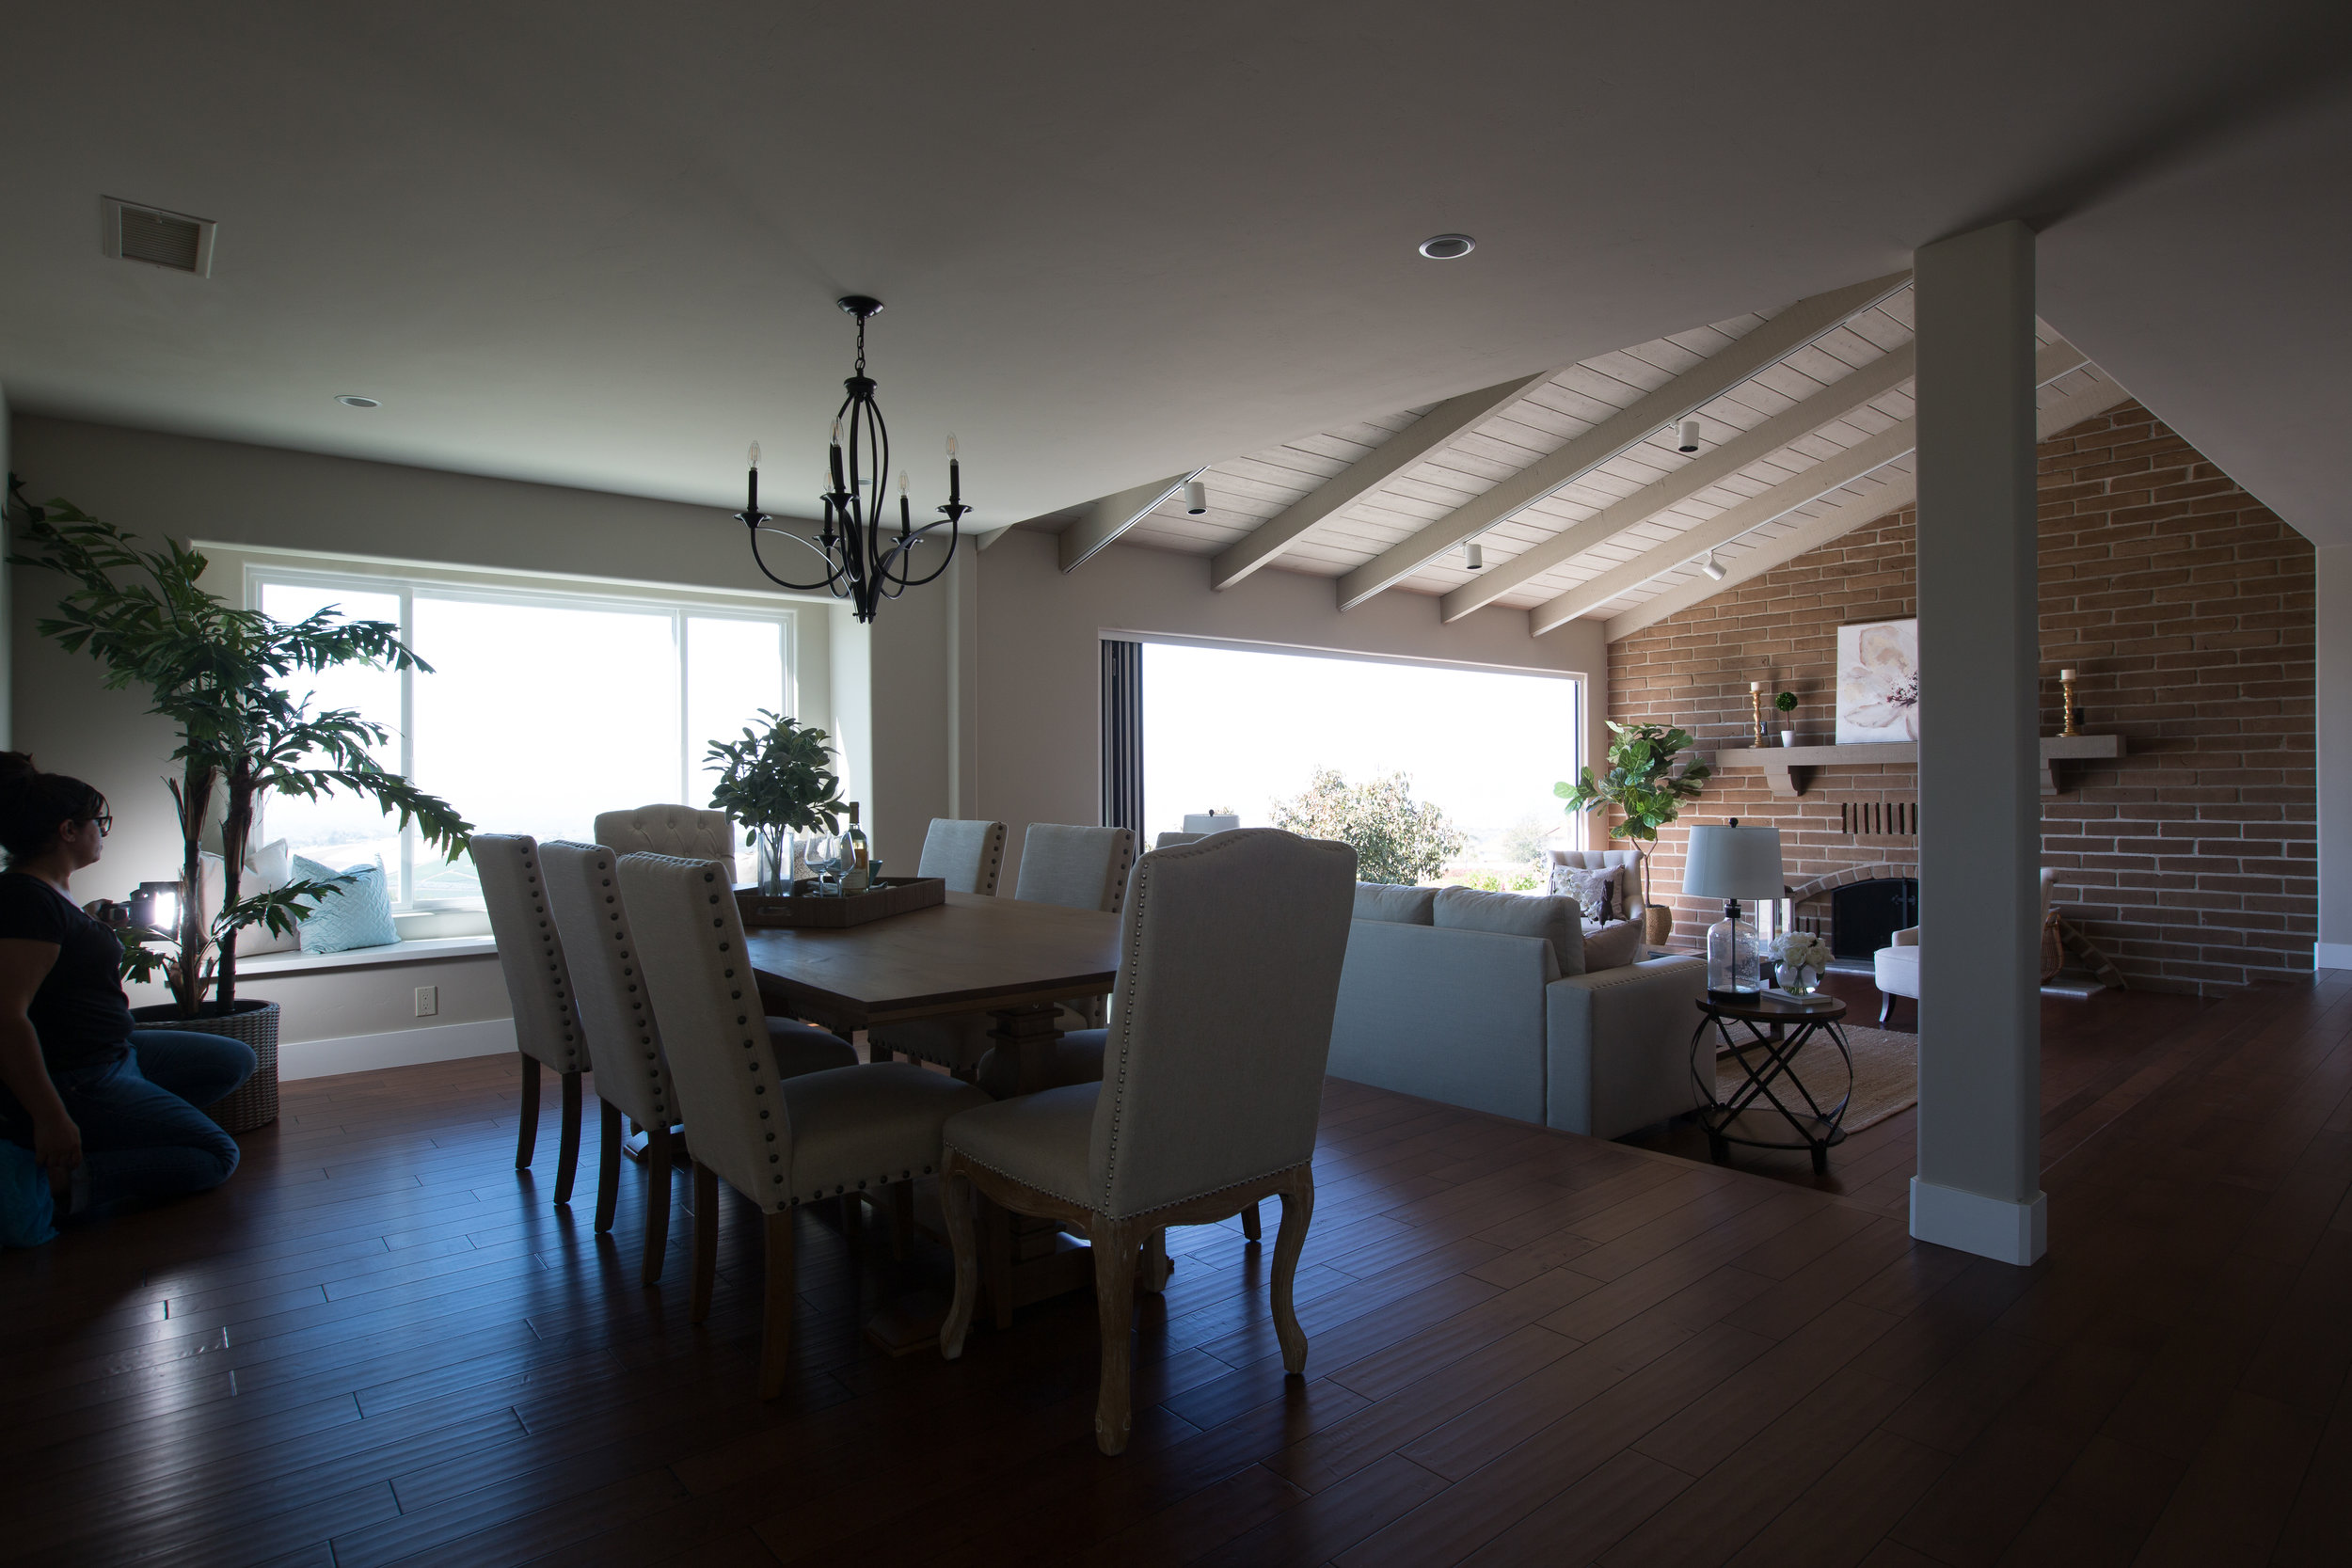
Flash with a diffuser is pointed at cushions on the bay window to brighten up their shadows.
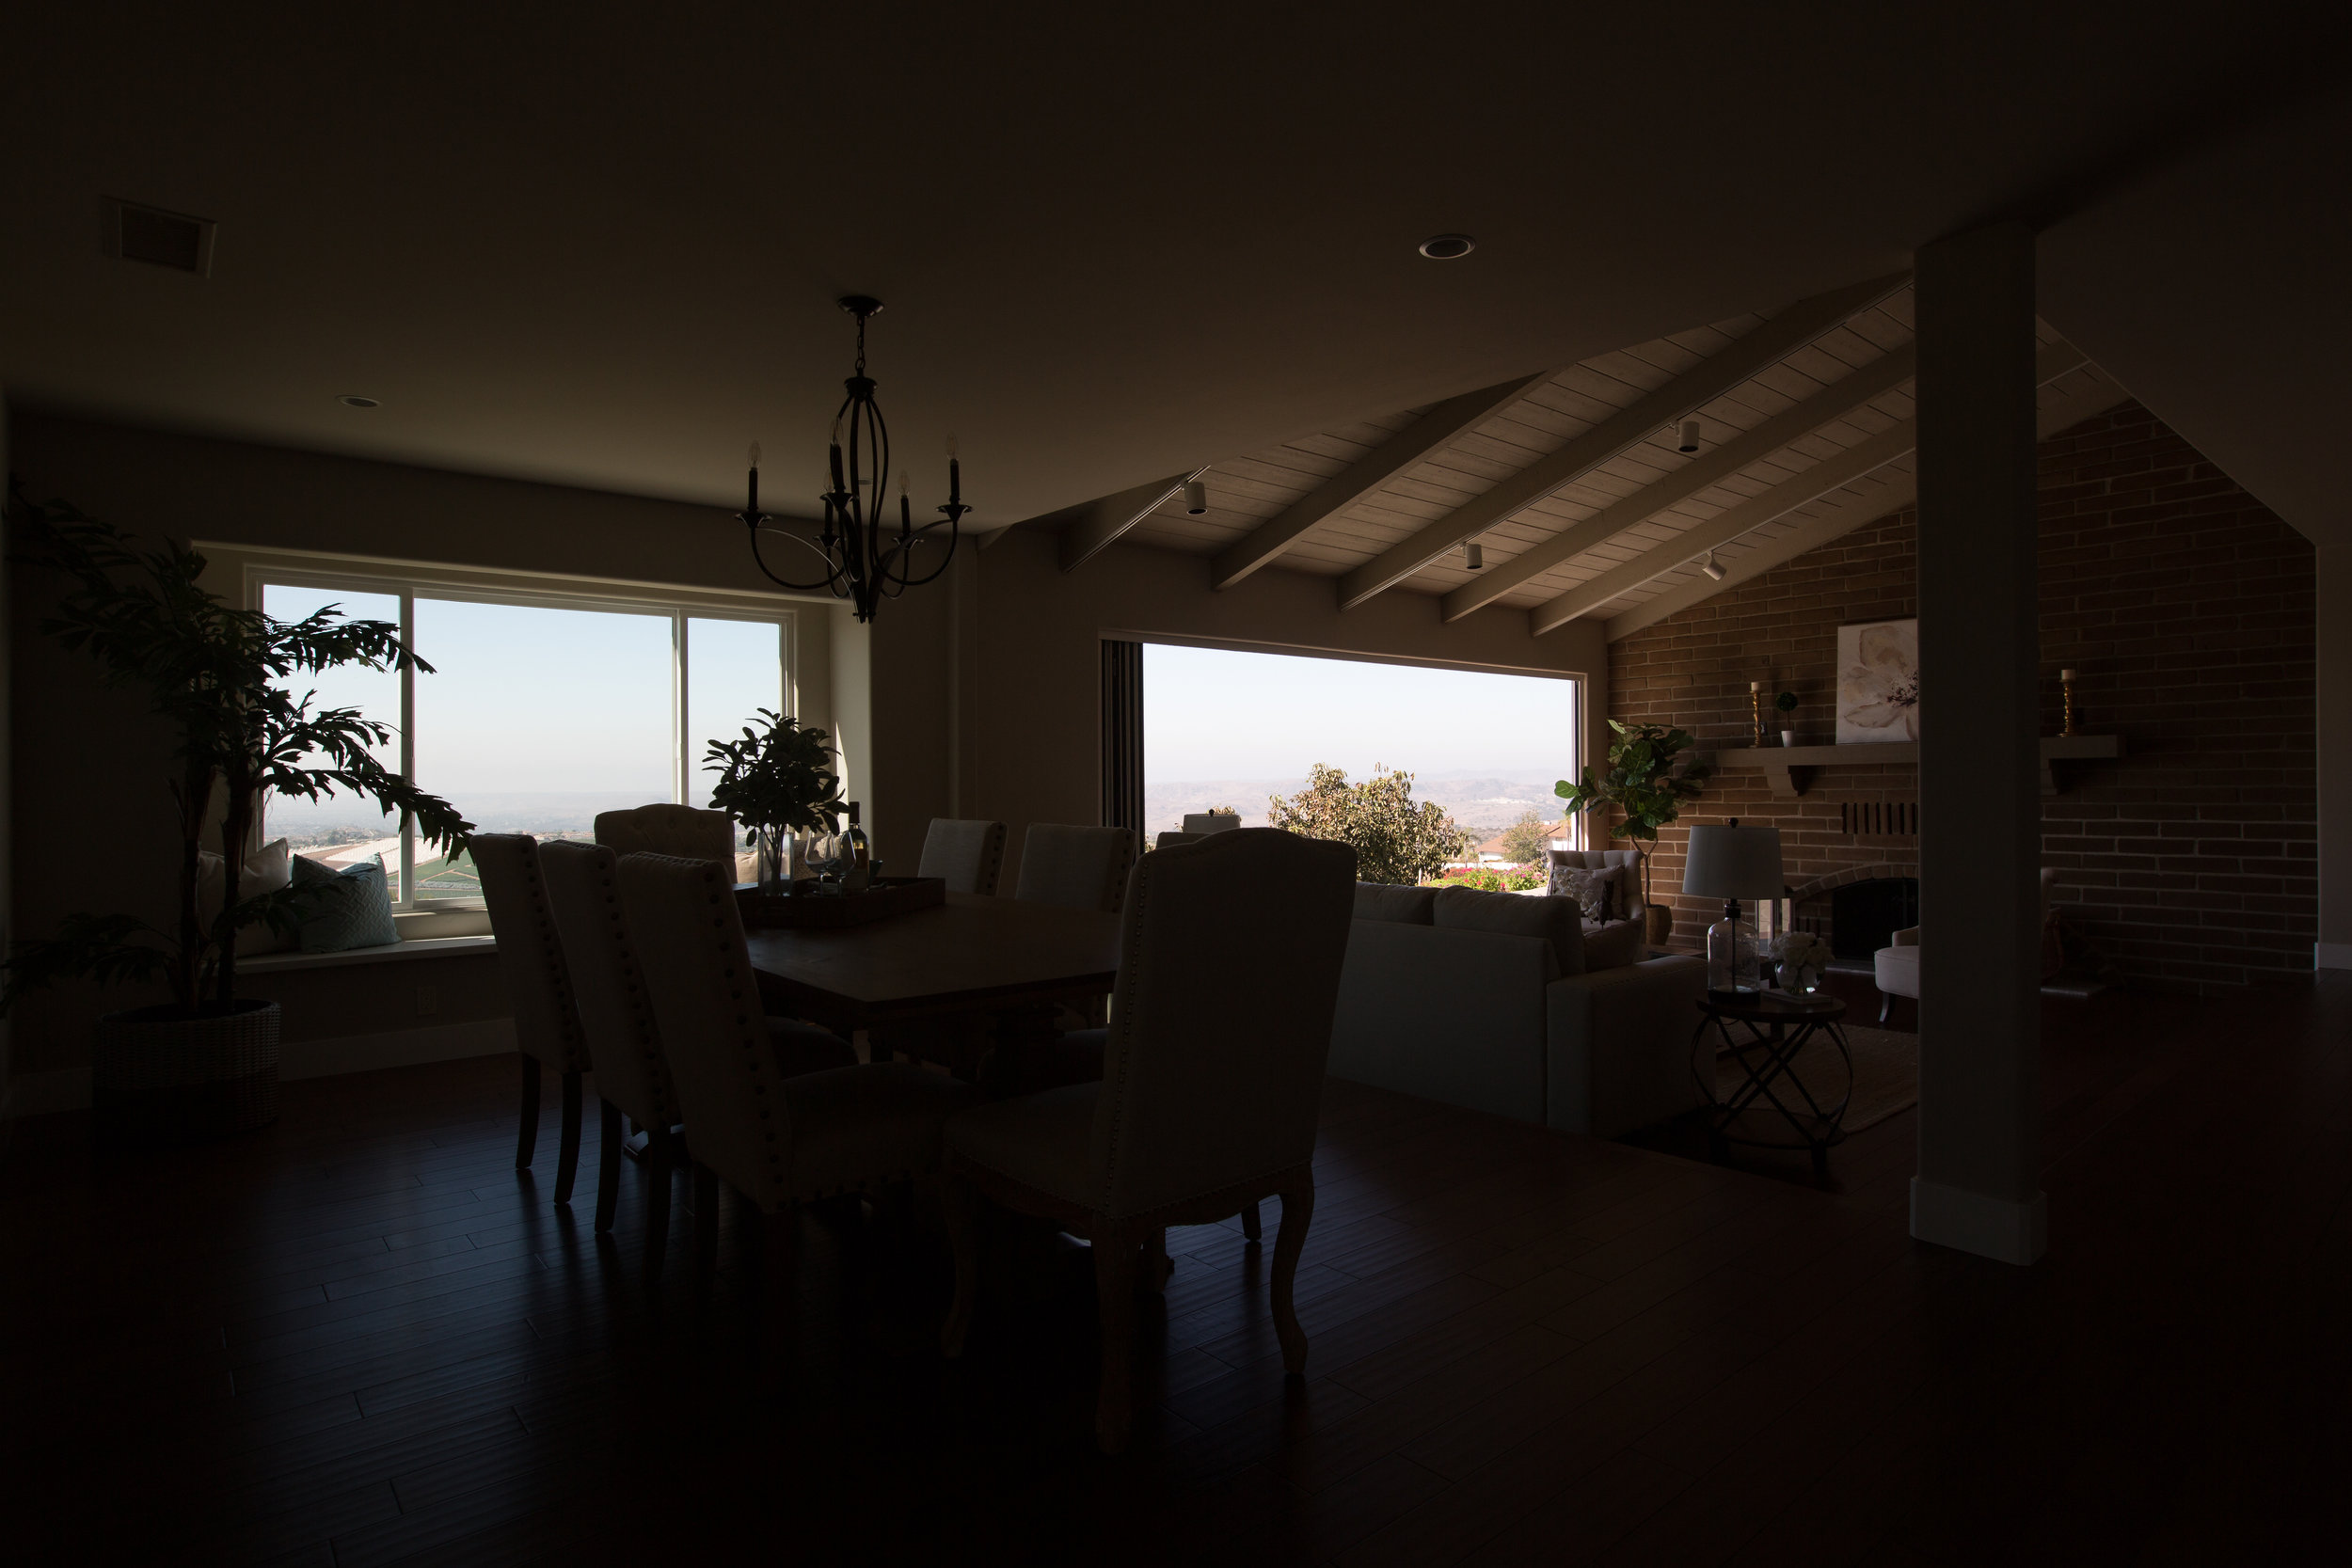
Ambient shot exposed for views brings in a bit of the landscape and the views beyond.
USING A FLASH OR STROBE
If you’re already using artificial light or are interested in experimenting with it, there are a couple of options. If you’re on a tight budget, I recommend beginning with a flash and getting a wireless trigger so you can hand-hold it where needed. If you’ve got a bigger budget or want to graduate to a brighter light source, strobes are perfect for you! Regardless of what you’re working with, there are some general rules to consider.
Bounce it
Whatever artificial light you work with, you always want to bounce it. Bouncing the light will diffuse it so that it doesn’t create harsh shadows and falls more evenly in the space. If the room has white walls, you can point your light at the corner behind and above camera (so it points at the corner where the wall behind the camera meets the ceiling). Alternatively, you can bounce it into other corners of the room, but always consider in what direction it will reflect back into the room.
Adjust the power
Different times of day and different natural light conditions will need different amounts of light. Don’t be afraid to adjust the light and find just the right strength. Having the light too strong will create harsh light conditions, while having it too low may not even add any noticeable light to the scene! It’s okay to make adjustments during a shoot so that you can make sure to get exactly what you need.
Piece it together
To this day, I love to keep things simple and mobile. For me, this means I shoot with a flash in my hand, lighting the areas I need one at a time and then piecing the multiple exposures together in post-production. There will be tutorials on this sometime in the near future, but in the meantime, I highly recommend checking out online courses by Mike Kelley. There are some on CreativeLive that are extremely affordable and great intro courses that will show you what he does on-location to create the photos that he then overlays.
NO MATTER WHAT…
If you’re doing a lot of work with similar spaces or if you’re venturing into real estate or vacation rental work, I would consider using presets as a starting point for your edits. Over the years I created presets out of the settings that I would consistently be changing on every photo (and you can find those presets at The Grove Shop!), but you can also save your settings as presets to use on later shoots. While there is no magic button solution that eliminates the need for edits, presets are a great way to start your edits and do very minor tweaks to finalize. For more in-depth work like you would do with interior designers, you’ll be doing a fair amount of editing but presets can still save you a few clicks at the start!
We’ll dive deeper into lighting with an upcoming online course that will include some videos, loads of notes, and great behind-the-scenes photos. Until then, though, use the tips above to get familiar with lighting interiors and bring your photos to the next level!
xo
Natalia


