I don't know about you, but I love those Dwell photos.
You know, the ones where the perfect little family is hanging out on their incredible back deck or playing board games in their modern chalet in the woods.
Few clients request having people in their photos, unfortunately, but it’s something I absolutely recommend you suggest for future shoots! While it’s taken me some trial-and-error to learn how to adjust my shooting for photos with people in them, I want to share my settings and setup tips with you all in the spirit of saving YOU loads of time.
Example #1
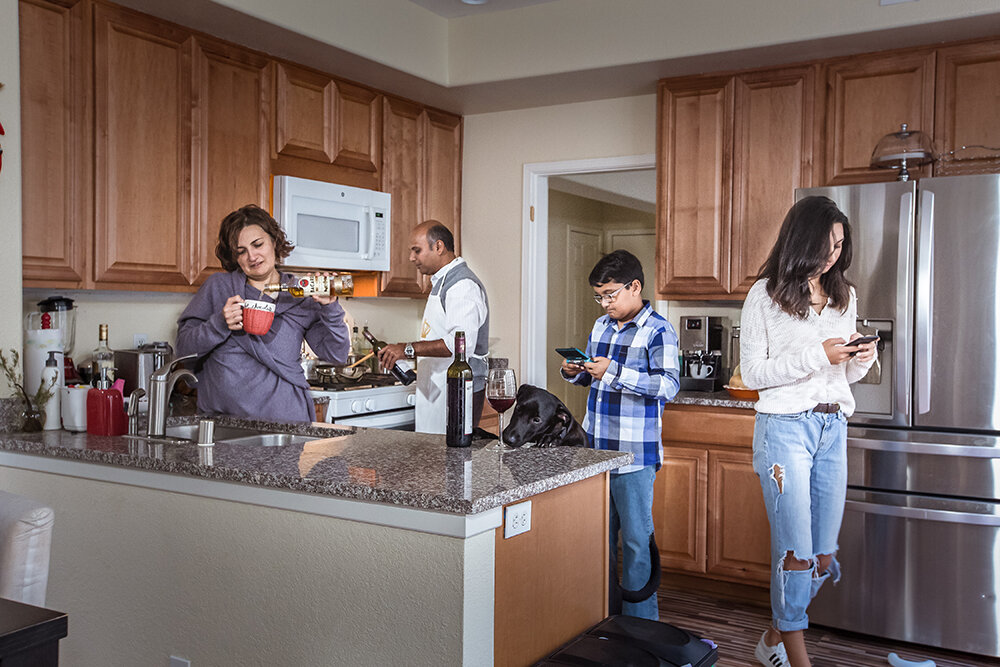
This first one was an experiment just for fun, so it's not exactly Dwell-style. But.... the technique is worth keeping in your bag of tricks just in case!
This one was done as a composite. I did a photo of the kitchen itself and then photographed each person individually. The reason was that I wanted to be able to light each person individually and put them exactly in their spot doing their action. Keeping the camera on the tripod meant I could just layer each frame to insert the people one by one :-)
Settings (for each frame):
35mm
f7.1
1/80 second
ISO1600
Flash triggered remotely at 1/2 power with diffuser
Example #2
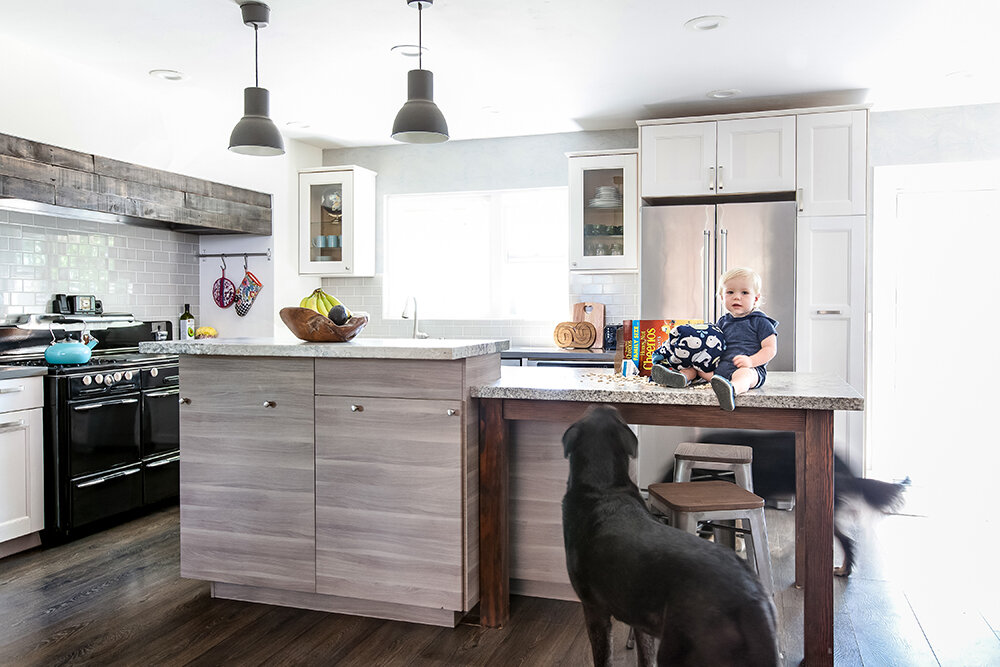
In this example, the baby was able to keep still by looking at mom near the camera. The dogs, though, were walking around and waiting for Cheerios to fall off the counter! This made it the perfect opportunity to have the dogs in blurred motion while the baby sat still.
There was still some layering to this one, but it was for the parts of the kitchen that were too dark or bright, such as the corner behind the stove or the wall above the sink.
Settings (for the shot with the baby and dogs):
28mm
f5.6
1/4 second
ISO640
Flash fired remotely at (I think) full power, with umbrella diffuser
Example #3
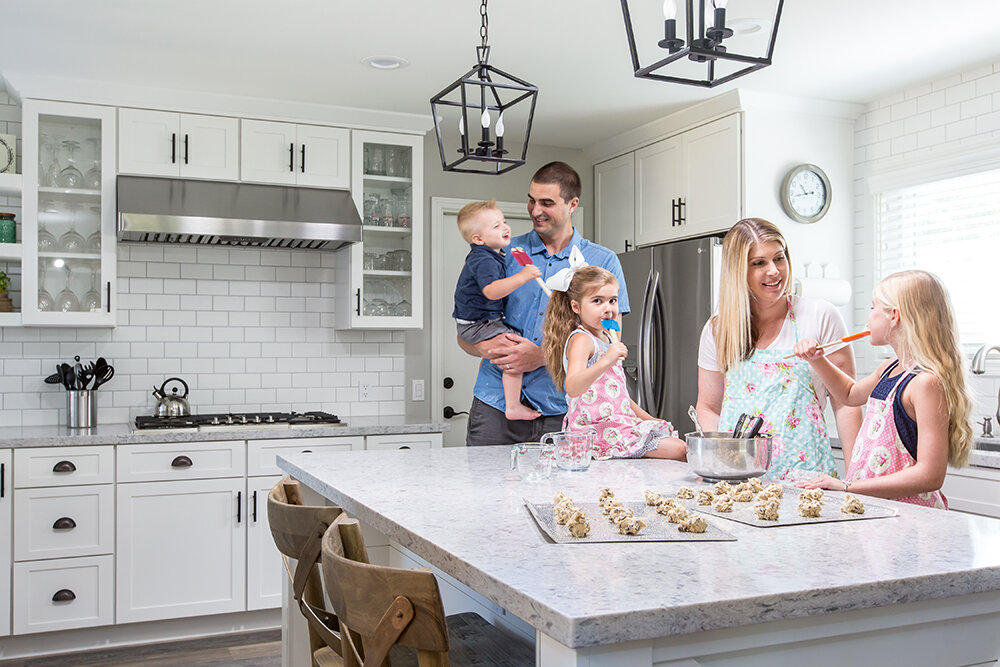
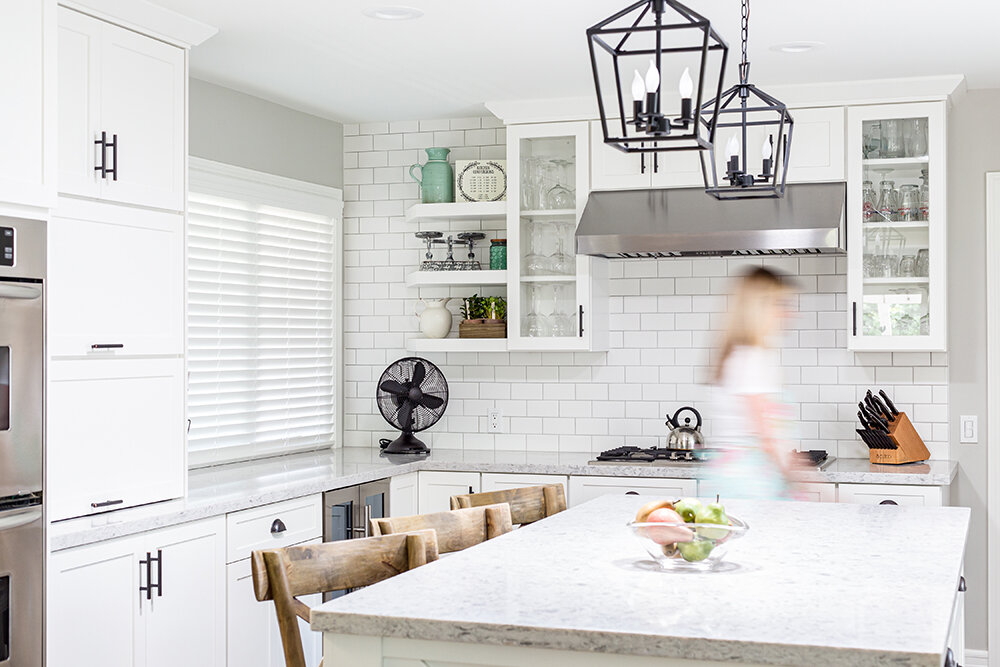
This is one of the recent photos with that daring contractor! It's a single frame, which was possible in part because of two solar tubes above the island and windows on opposite sides of the kitchen. I added in some fill light with a handheld flash and that was it!
You'll see in the settings that the shutter speed was actually pretty slow. I think I lucked out on this one. Next time, I'll be using a faster shutter speed for these shots and leaving the slow ones for when I want blurred motion. For next time, I would try a speed closer to 1/60 or so.
Settings:
33mm
f9.0
1/4 second
ISO400
Flash fired at 1/4 power, bounced off the wall to camera left
Example #4
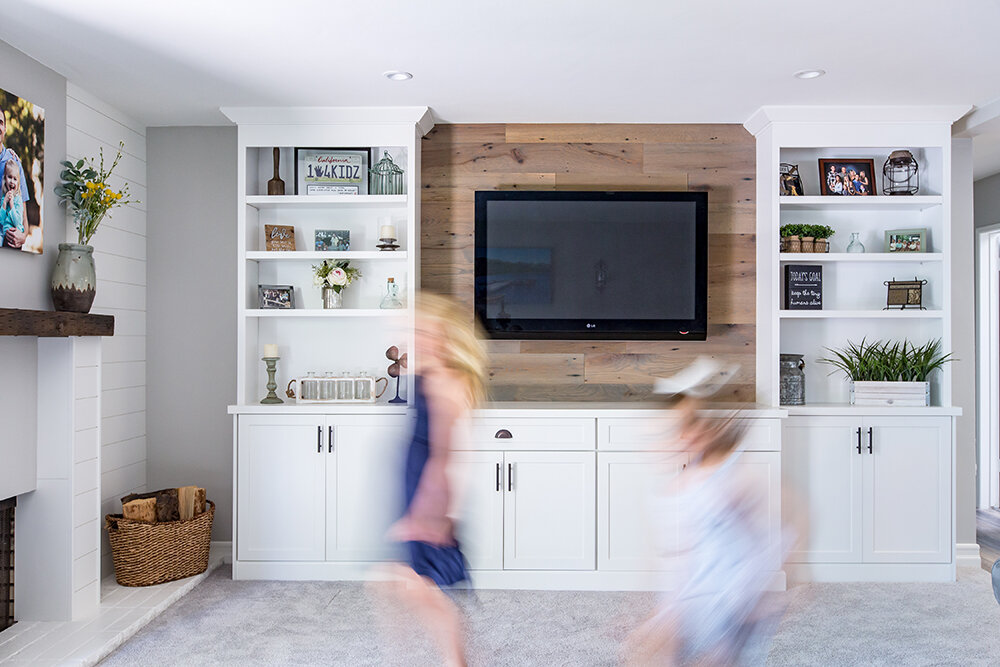
These are the other photos with people that we got with the contractor. This was ultimately the look he was really wanting, and I love how they turned out! Settings on both are identical, and these are the settings I'll be going back to time and time again for blurred motion.
One thing I may try with in the future is using a bit of flash to add a tiny bit of definition to the people. But honestly, I'm also really happy with how they are as-is, flash-free!
Settings:
30mm (top), 50mm (bottom)
f6.3
1/10 second
ISO800
No flash fired
Finally…
Here are some general tips for working with people in interior photography:
-
Do people photos first. Especially if there are kids or dogs involved, the attention spans are short! Take care of any photos involving people first so they can then go relax on their own while you finish up the interiors.
-
Plan activities. Especially when there are kids involved, having an activity or 'goal' is perfect for holding their focus just a little bit longer. Consider things like putting together a puzzle, baking cookies, playing with their favorite toy in the playroom... This way you also get them looking more natural, too!
-
For blurred motion photos, consider not telling kids that you're taking the photo. In Example #4, the photo with the two girls was practiced, but I also got another shot of just one of the girls as she was casually walking across the room. She had no idea I took a photo, but my client sure did. He loved how it felt so relaxed and natural! Just ask the child to go get something from one room to take to someone in another room, and then catch them as they walk across the frame.
-
Get creative with props. Sometimes you're left looking for items that can go in bare spots that just need something. When looking for items to use, consider things like color and scale. For the cookie-baking photo, I actually asked the homeowners to bring out a couple of measuring cups so we had more props on the island besides just the baking sheet and bowl. With people, never underestimate the power of a tiny touch of real-life messiness for adding interest!
-
Have some visual in your mind of what you want, but be open to possibilities. Having something in mind gives you a starting point for positioning people and creating activities. But... be open to what the family naturally gravitates towards!
-
Have fun! If you're not having fun, it'll make it less fun for the homeowners/models. Especially when working with kids or animals, having fun and keeping the mood light goes a very long way. Get silly, let THEM get silly, and take it all as a creative experiment.
xo,
Natalia


