You know those bright white kitchens or clean, fresh white bathrooms all over Instagram?
Well, sometimes they don’t start out so bright and white in the photos. If you use your camera in Auto White Balance (I do!) or if you have difference light sources, you may have had some photos with a warm (yellow) or cool (blue) tint to them. Correcting them will make your photos appear more true-to-life and professional, so that’s what we’re going to cover today!
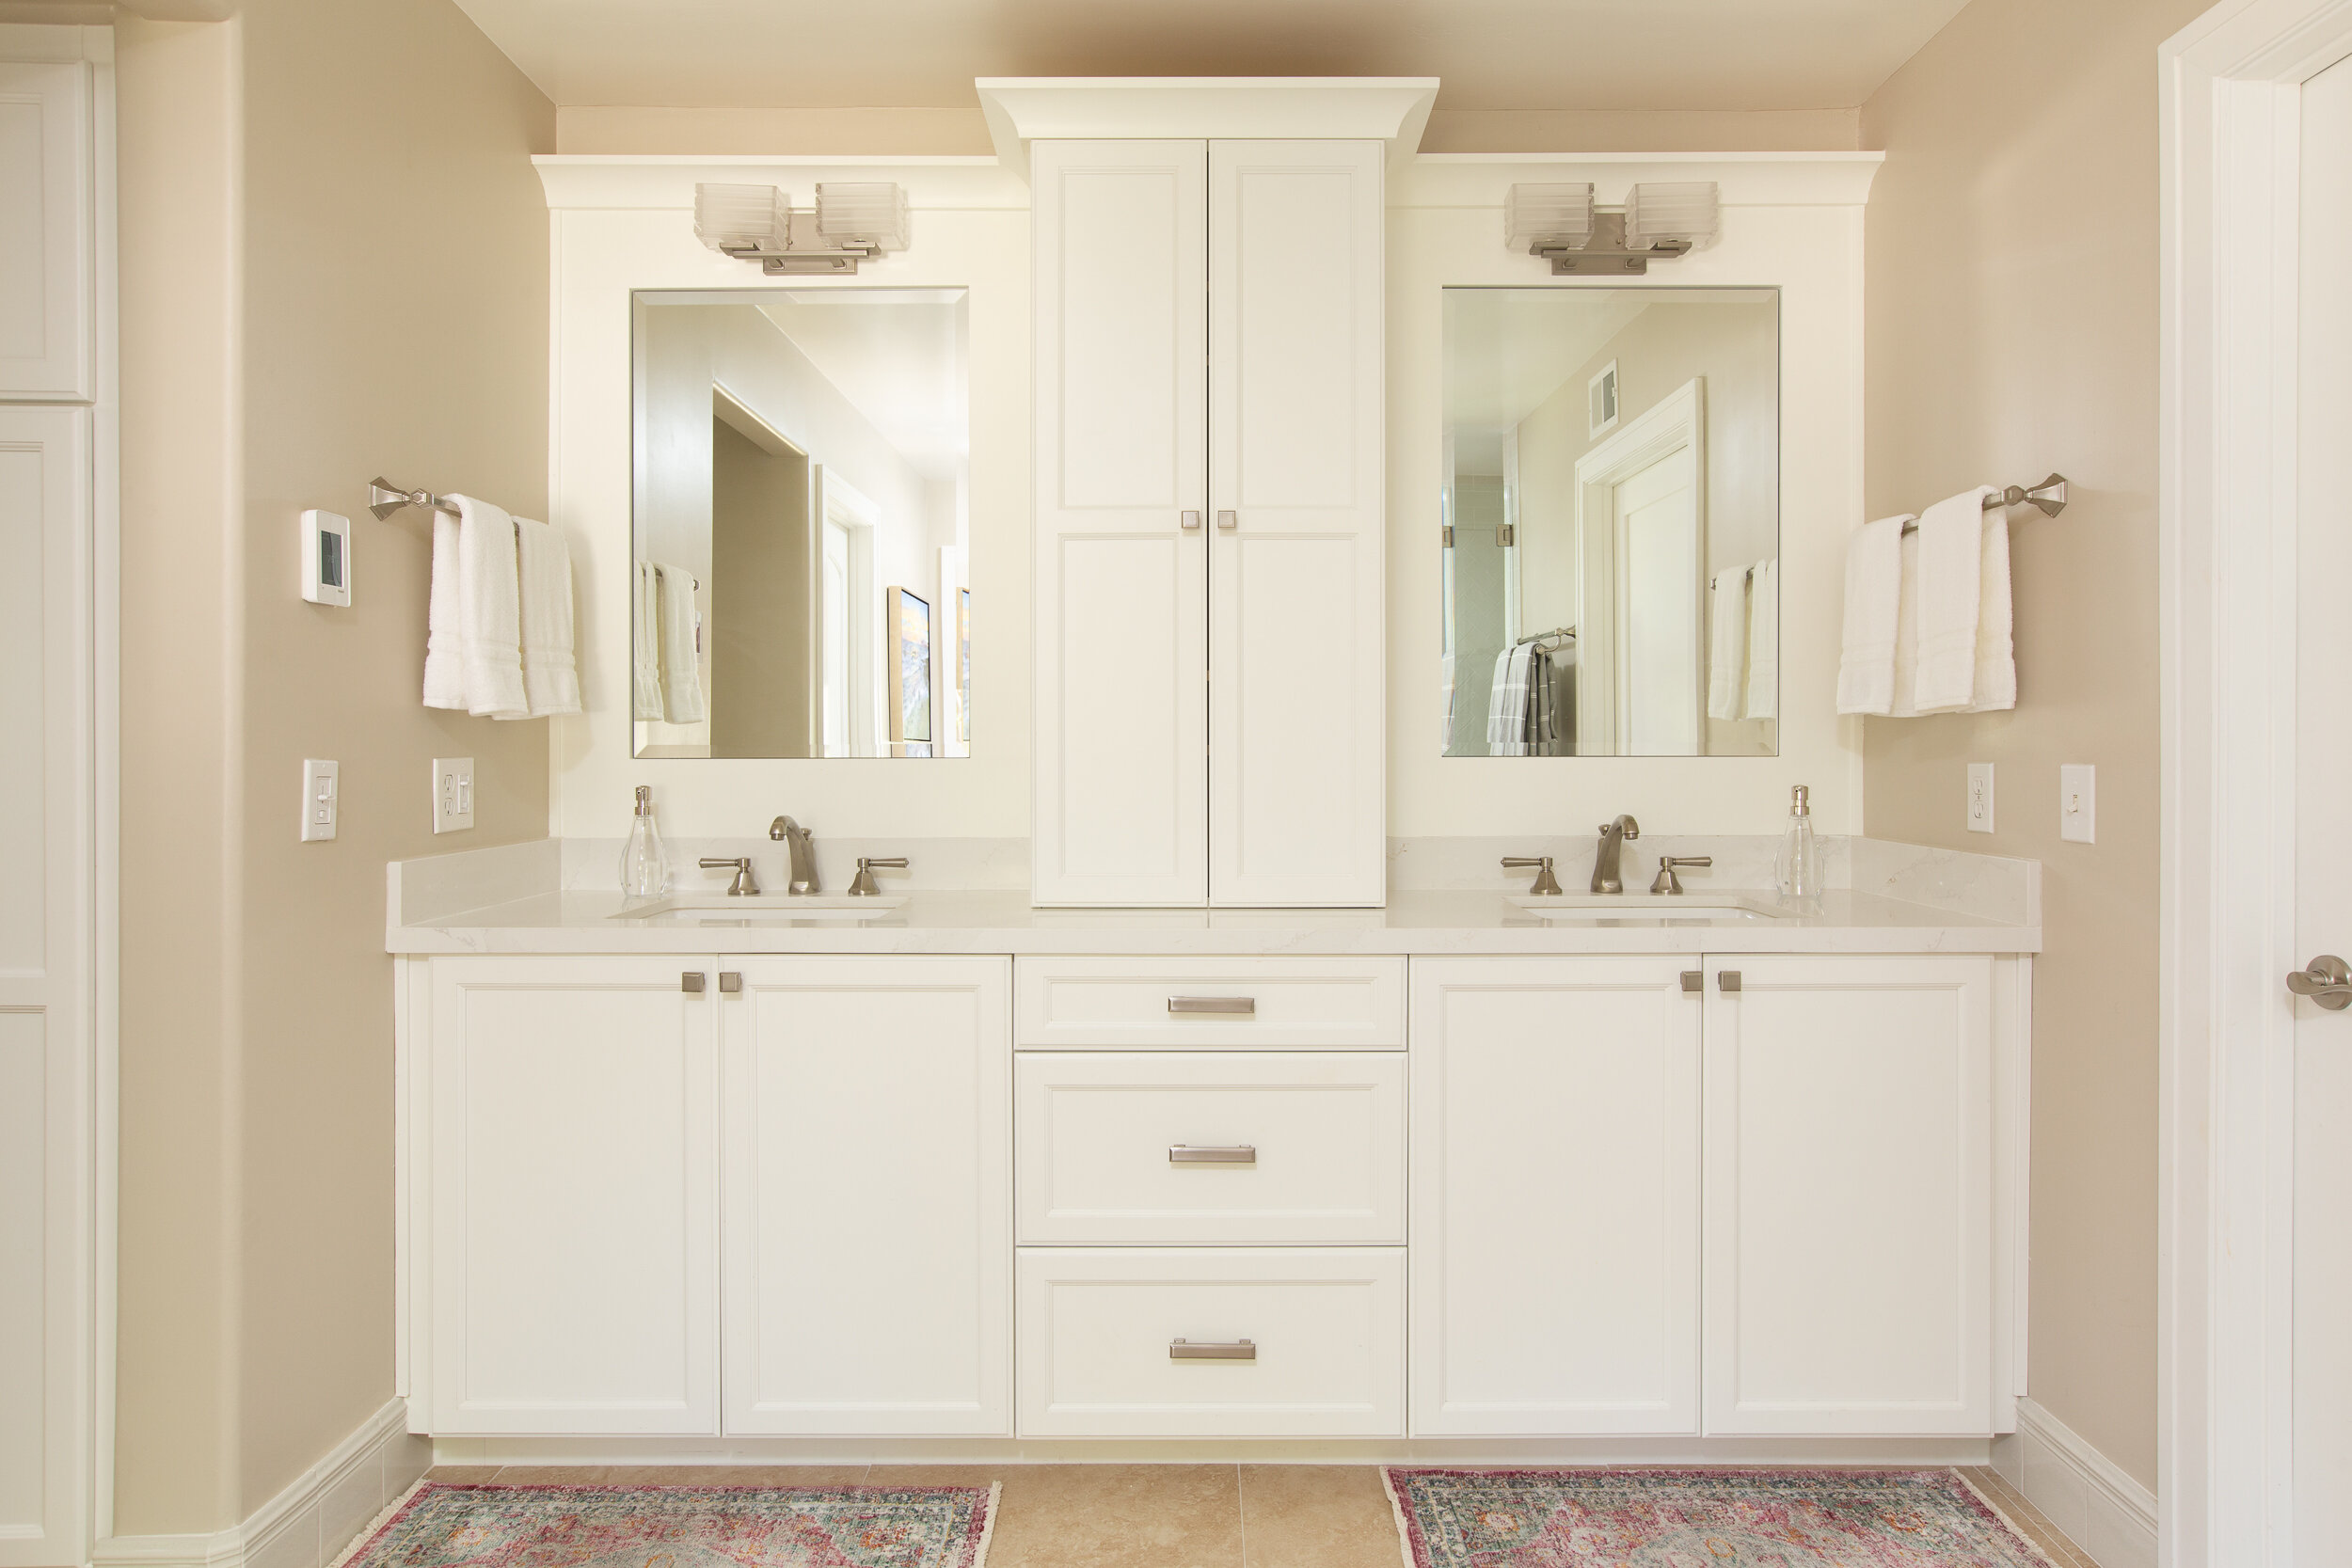
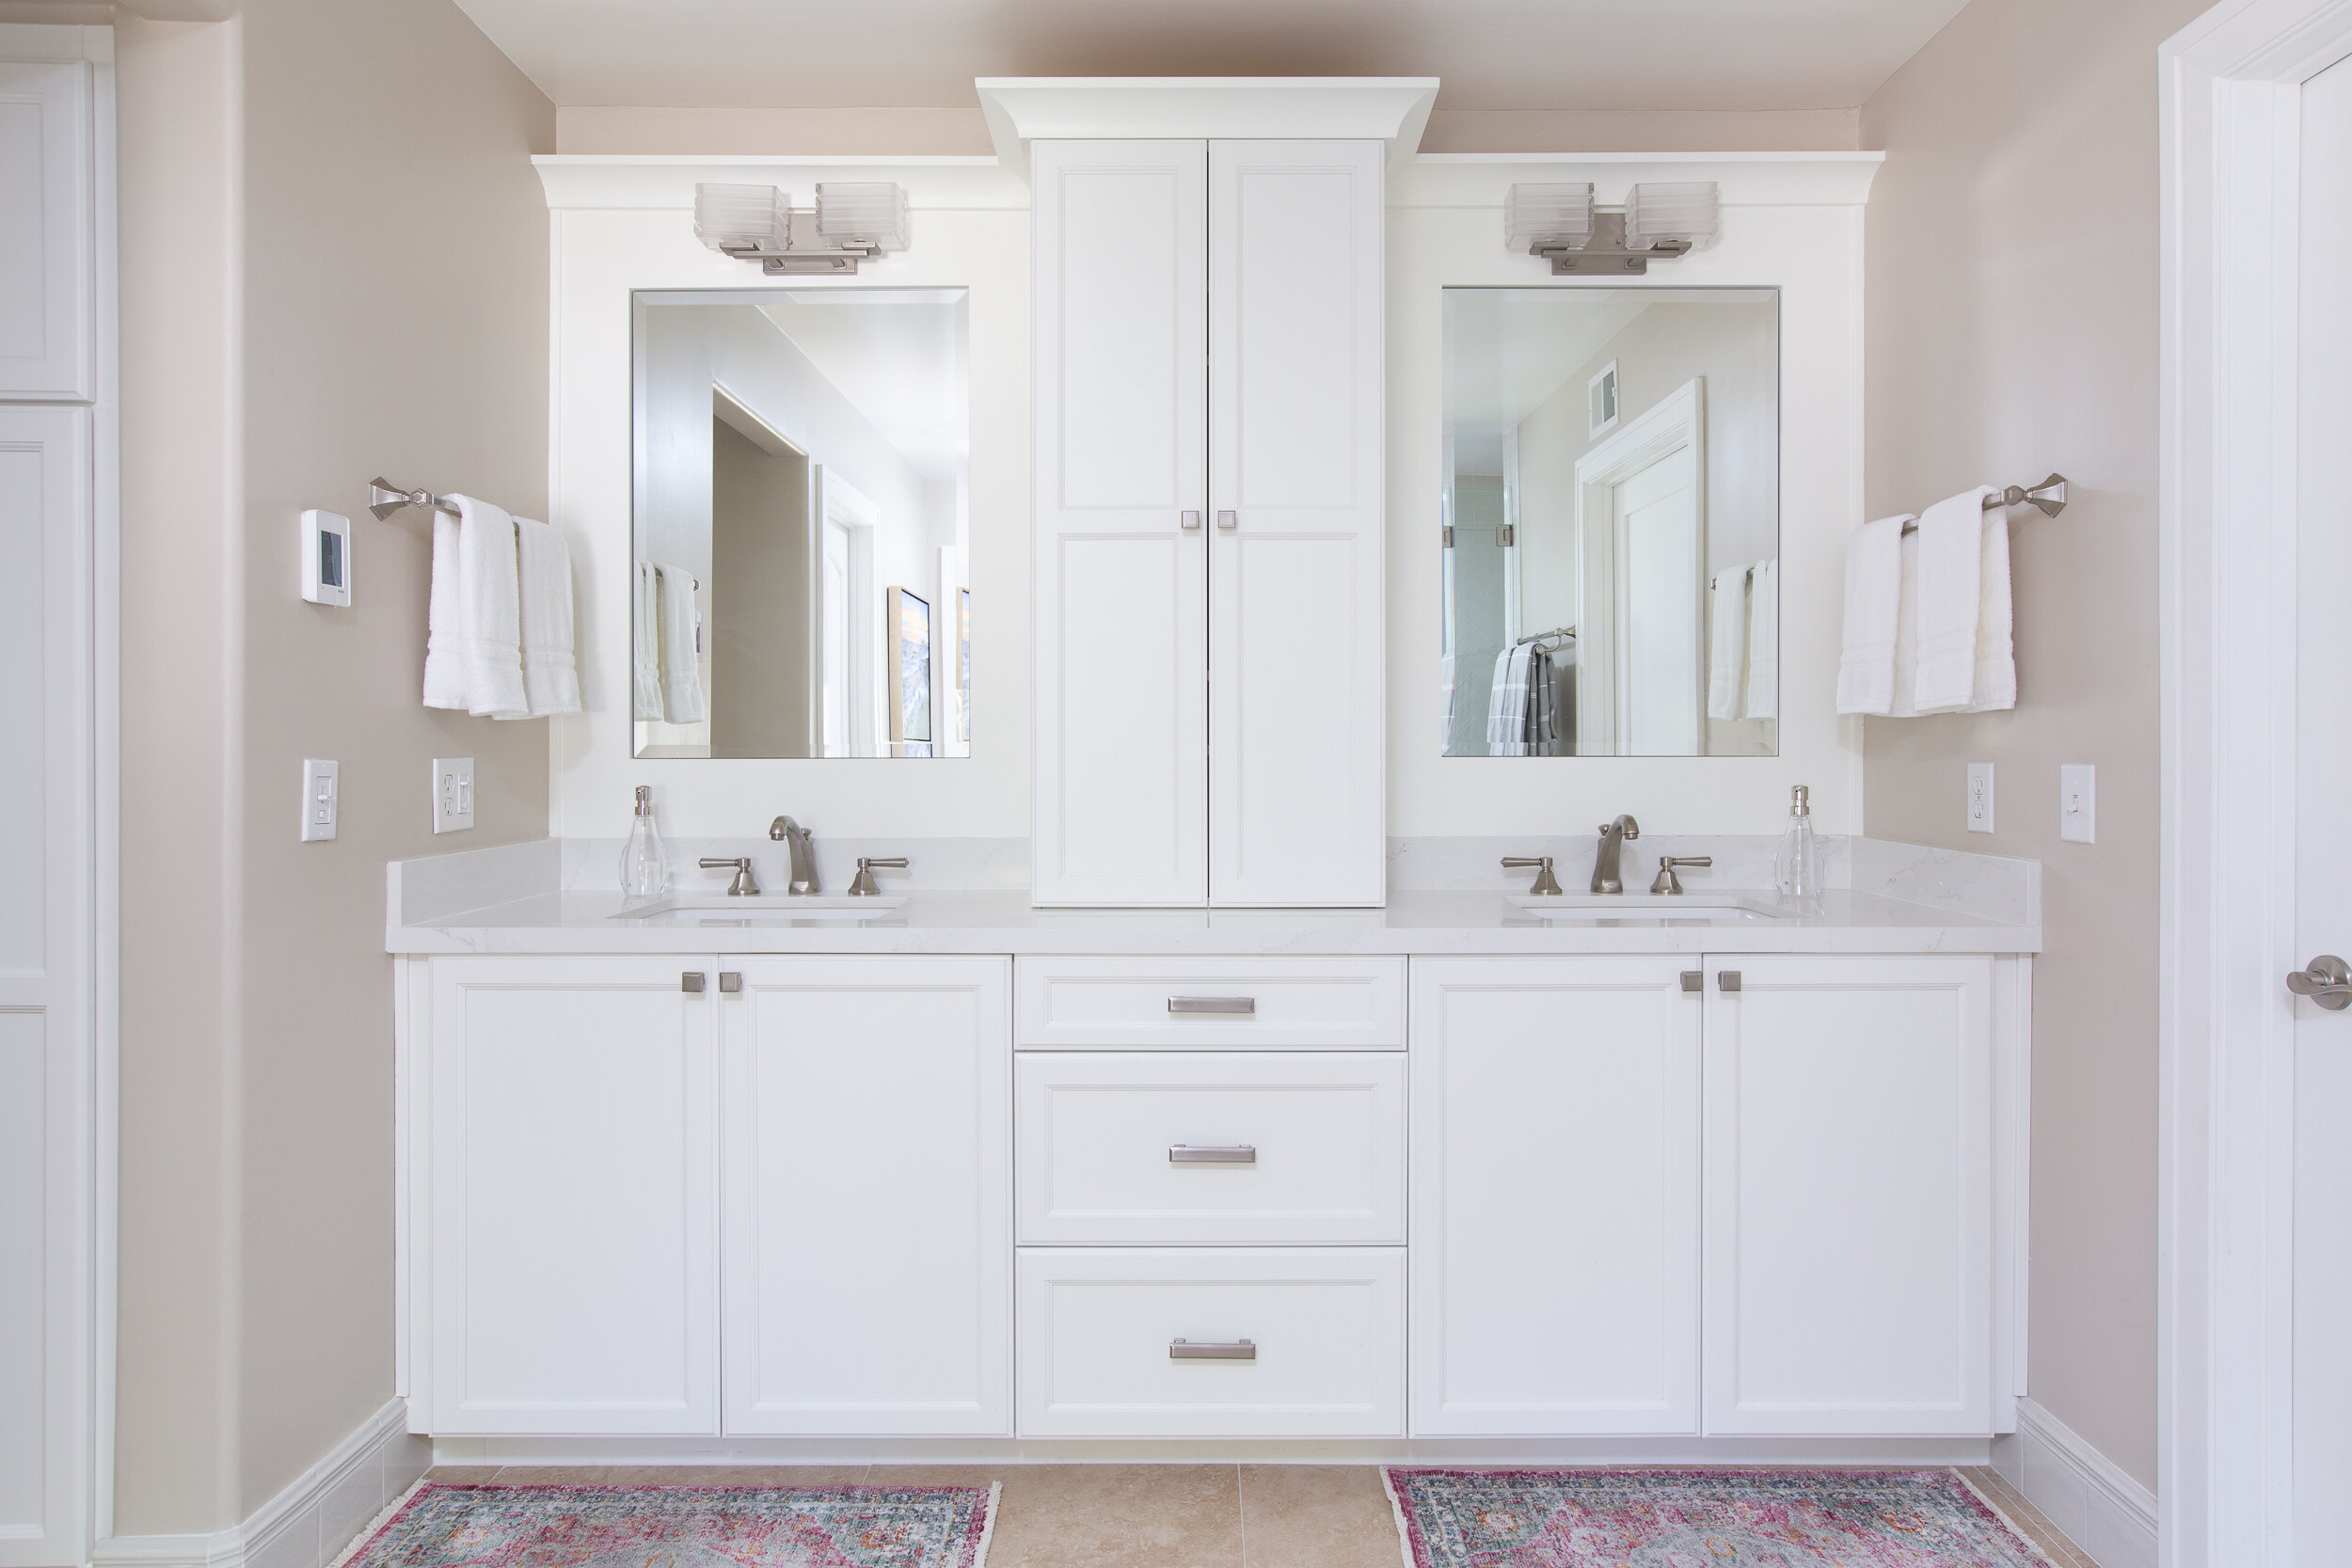
To get an idea of the impact that correcting the white balance can have, take a look at the photos below. The left one is the original, unedited. The one on the right is with the white balance adjusted - no other editing was done!

Original photo, no editing.

White balance has been corrected, no other edits done.
What is White Balance?
White Balance is the balance of colors that make the photo look true-to-life. The main reference point for white balance is anything white. If a white object in your photo actually looks white, then the white balance is fine. If it looks a little yellow, then it’s warm and needs to be balanced with some blue tones. If white objects look a bit blue, then you need to warm them up with yellow. When you adjust the blue/yellow cast on a photo, you’re adjusting the Temperature. This refers to the light temperature - different light sources have different color casts.
We’re going to cover how to correct the white balance in Lightroom FIVE different ways. There are ways to correct the white balance in Photoshop, too, but let’s stick to Lightroom for today.
For the entire photo you can:
- Use the eye dropper icon
- Use the Temp & Tint sliders manually
- Adjust the saturation and luminance for yellows and blues in the HSL section
For white balance corrections on just part of a photo you can:
- Use the adjustment brush to manually apply a color effect
- Use the gradient filter to apply an effect from the edge of the frame, fading to nothing
Now let’s see all these options in action! Check out the video below for step-by-step instructions for each tool.
xo,
Natalia


